Every year since 1966, Linus has waited for the Great Pumpkin to rise from the patch. It never does.
This year, the Great Pumpkin could be yours, arriving just in time for a Halloween-themed Instagram post.
Growing a supersized pumpkin requires time, patience, know-how, and maybe a bit of luck. Here, we’ll share tips for cultivating gigantic gourds and hefty harvests and cover everything from selecting seeds to watering techniques. You’ll grow the greatest pumpkin in the neighborhood.
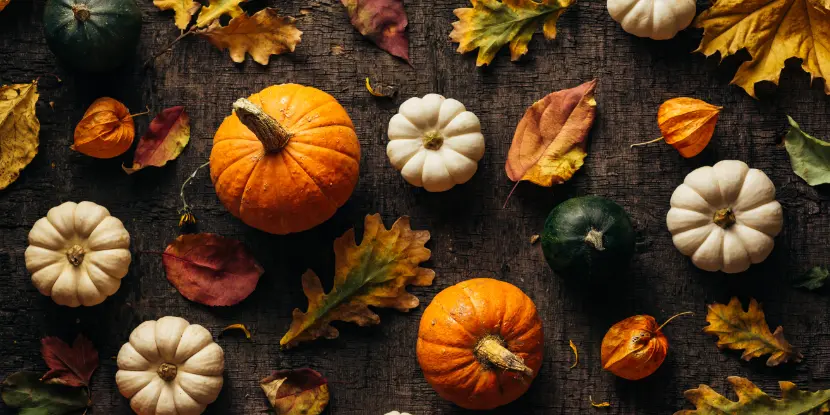
Selecting the Right Seeds for Southern California
Pumpkins adapted to a warm climate include:
- Atlantic Giant: The gold standard of colossal pumpkins, the Atlantic Giant has produced record-breaking specimens weighing over 2,000 lbs. It needs a long growing season and may struggle in intense heat, making it a better choice for coastal areas. Still, it will grow inland — just not to a ton.
- Big Max is a slightly smaller cousin of the Atlantic Giant. The fruit can weigh up to 100 lbs, while the plant is more tolerant of heat and humidity.
- Big Moon can develop 200-lb pumpkins in extended warm conditions.
- Howden is a favorite for pumpkin patches and jack-o’-lanterns. It has a classic round shape and can yield pumpkins up to 35 lbs. It’s also resistant to diseases and pests.
- Cinderella has an unusual flattened shape resembling the carriage in fairy tales. No fairy godmother is required — the magic is in the seed. Cinderella thrives in warm climates, bearing pumpkins up to 50 lbs.
- Tom Fox can generate significant yields in Southern California. Tom Fox pumpkins are known for their vibrant color and robust flavor, making them an excellent choice for decoration and cooking.
- Early Giant develops large pumpkins relatively quickly. This allows for a more flexible planting and harvesting schedule.
- Baby Bear is an excellent option for smaller gardens. This compact variety grows to 6-8 lbs, ideal for carving or decorations.
Small and ornamental pumpkins are best for container gardening.
Preparing Your Garden
- Pumpkins need plenty of sunlight. Select a location that receives at least 6 to 8 hours of direct sunlight daily.
- The soil should be well-drained, nutrient-rich loam with a pH between 6.0 and 6.8. Amend the soil to achieve these conditions.
- Mix in well-rotted manure or compost before planting to improve soil texture, nutrition, and drainage.
- Pumpkins grow on sprawling vines. Space rows 8 to 12 feet apart to give each plant room to spread.
- To maximize sunlight exposure, lay out your rows in a north-south orientation to reduce plant shading.
- At each planting site, create mounds of soil about 2 to 3 feet wide and 8 inches high. This improves drainage and warms the soil in spring, creating an ideal environment for seed germination.
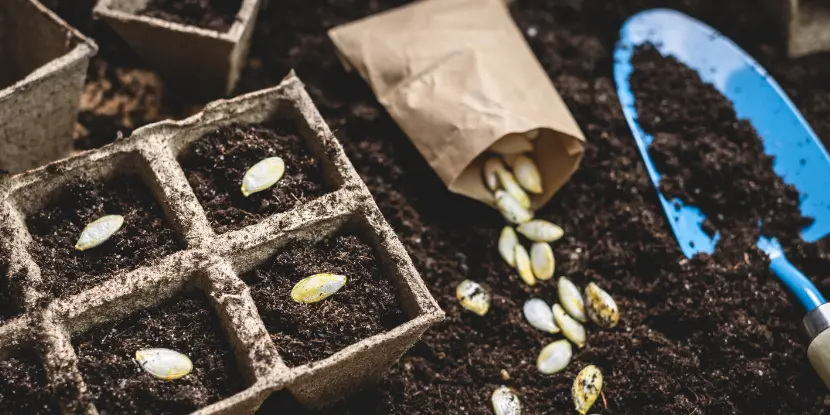
Planting seeds in containers for indoor germination.
Planting Your Pumpkin Seeds
- Plant pumpkin seeds after the last frost date, when the soil has warmed to at least 70°F. In Southern California, this typically occurs from late May to early July.
- Place seeds 1 inch deep in the prepared mounds or hills. Plant 4 to 5 seeds per mound to ensure germination.
- Water the planted seeds thoroughly. During the germination period, keep the soil moist but not waterlogged. Once seedlings appear, reduce watering to promote deeper root growth.
- When seedlings have developed their first true leaves, thin them to leave the two strongest plants per mound. This ensures the remaining plants have enough space and resources to grow.
- Apply a straw or wood chip mulch layer around the plants to retain moisture, regulate soil temperature, and suppress weeds.
- If your garden space is limited, consider training the vines up a sturdy trellis or fence to conserve space and keep the fruits clean.
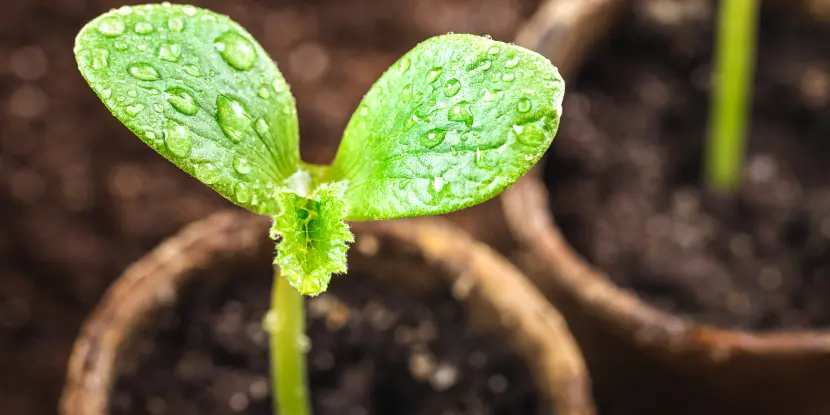
A pumpkin seedling ready to be transplanted outdoors.
Pollination Strategies
Here’s how the pollination process unfolds to ensure your pumpkins bear fruit:
- Pumpkin plants are “monoecious,'” meaning they have both male and female flowers. Bees are the primary pollinators. They transfer pollen from male to female flowers in their search for nectar.
- Male flowers emerge first and are identifiable by their long, thin stems. Female flowers have a small, bulbous ovary at the base that resembles a miniature pumpkin.
- Early morning is optimal for pollination, when flowers are open and bees are most active.
- If bee activity is low, use a small brush to transfer pollen from male to female flowers. You can also touch the male’s anther to the female’s stigma.
- Planting nectar-rich flowers nearby will attract more bees to your garden, increasing the chances of natural pollination.
- Keep plants free from pests and diseases that could affect pollination rates.
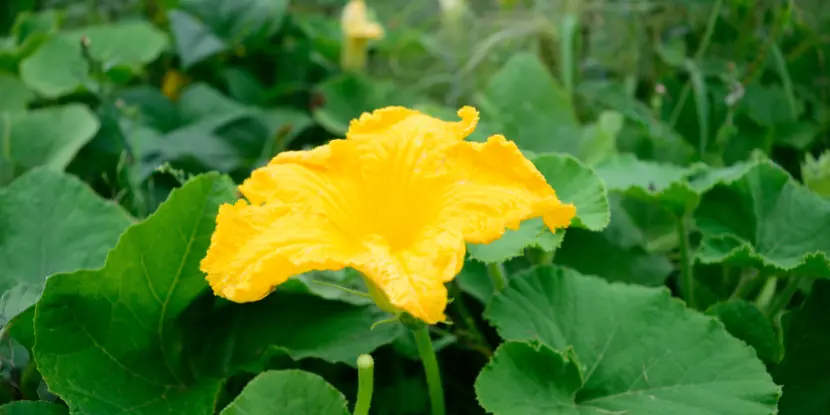
A female pumpkin flower on the vine.
Watering & Fertilizer
- Water deeply once a week with 1 inch of water, allowing the soil to dry slightly between waterings. Avoid overhead watering to reduce the risk of leaf diseases. Drip irrigation or soaker hoses are the best options.
- Begin fertilizing two weeks after planting. Use a balanced, all-purpose garden fertilizer (like a 10-10-10 NPK ratio) every two to four weeks. Follow the manufacturer’s instructions for the correct dosage.
- Once the pumpkins begin to form, side-dress with a high-phosphorus fertilizer to promote fruit development. Spread it around the plant’s base, slightly away from the stem, and water it into the soil.
- Apply a layer of organic mulch around the plants to maintain soil moisture and temperature, which can also help reduce watering needs.
- Use a soil moisture meter or your finger to check the moisture level. Before you water again, the top inch of soil should be dry, but the soil should be moist at a depth of 2-4 inches.
- Increase watering frequency during hot, dry periods and decrease during cool, rainy spells.
- Stop applying fertilizer by mid-August to encourage fruit development over vine growth.
Pests & Diseases
Pumpkin plants are more vulnerable than most plants to pests and diseases. Proper care will prevent most issues:
Pests
- Squash bugs suck the sap from leaves, making them wilt and die. Handpick bugs and eggs from the underside of leaves early in the morning. Use row covers to protect plants during the early season.
- Aphids draw sap from leaves and excrete honeydew, which attracts mold. Spray plants with jets of water or use insecticidal soap.
- Cucumber beetles spread bacterial wilt, which can kill plants. Apply an organic pesticide containing pyrethrum.
- Squash vine borers lay eggs on plant stems, and their larvae tunnel into the plant’s core. Look for entry holes near the base of the plant. Cut out and destroy borer larvae with a knife or needle.
Diseases
- Powdery mildew appears as white, powdery patches on leaves, leading to defoliation and reduced fruit production. Water plants at the base and use fungicides for severe cases.
- Downy mildew causes yellow spots on leaves, leaf drop, and fruit damage. To control it, improve air circulation and water less often.
- Gray mold causes a fuzzy gray growth on leaves and fruits. Pick affected fruits and clean up plant debris to prevent further spread. Avoid overhead watering and improve air circulation around plants.
- Verticillium and fusarium wilts are soil-borne fungal diseases. To prevent them, rotate crops and avoid planting in the same spot for at least three years.
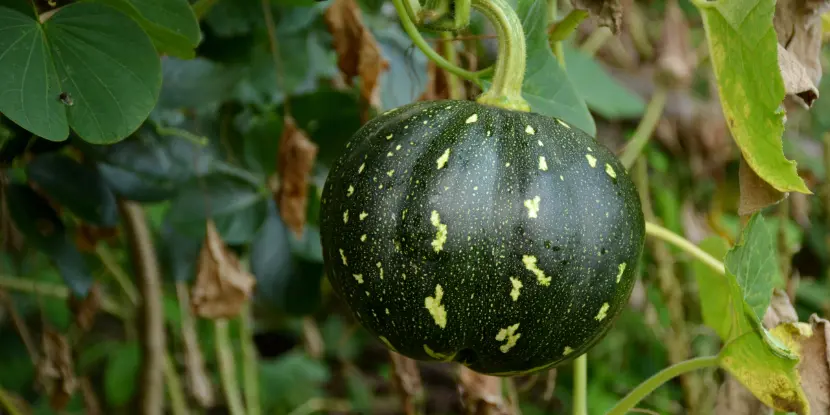
A young pumpkin ready to be supported with a sling.
Training Your Pumpkin Vine
Training your pumpkin vine onto a support structure that optimizes your garden space and significantly reduces the risk of soil-borne diseases and pest infestations. Here’s how to do it:
- Plant pumpkin seeds in hills, as described earlier.
- As the vine grows, remove all but two or three of the strongest side branches.
- Train these selected branches onto a sturdy trellis or fence using soft ties or twine.
- Secure the main vine to the ground with garden staples or by burying it under a layer of soil, leaving the growing tip exposed.
- Prune any additional side shoots that project from the main vine.
- Monitor and redirect growth to keep the vine evenly distributed on its support structure.
- Once the fruit forms, support each pumpkin individually with a mesh bag or old pantyhose tied to the trellis.
- Regularly check and adjust ties and supports as the pumpkins form.
Thinning & Pruning
Your pumpkin plant may produce more fruit than it can handle. Thin and prune it to channel all that energy into one prize-worthy gourd.
- Remove all but two or three fruits per plant.
- Regularly prune excess foliage to maintain good air circulation, reduce pest and disease risks, and redirect nutrients to the developing fruit. Use clean shears to clip any dead, damaged, or crowded leaves.
- When your pumpkin reaches the size of a softball, stop pruning leaves to protect the fruit from sunscald.
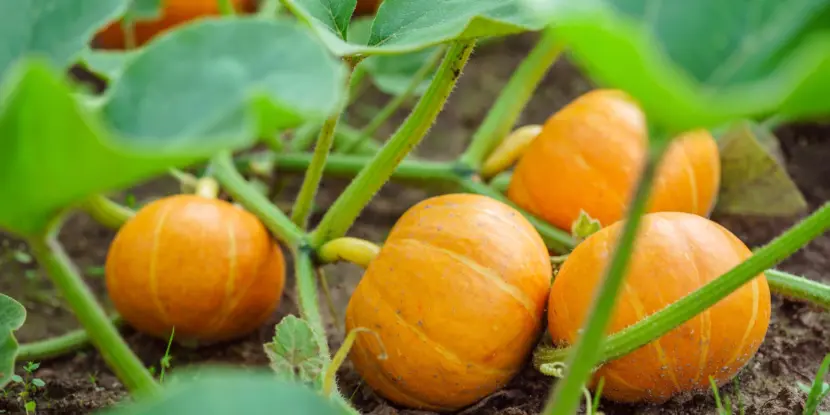
A cluster of pumpkins mid-growth in the patch.
Harvesting
On average, pumpkins take 75-100 days after planting to reach maturity.
- Look for a dull, slightly rough skin texture and deep color (depending on the variety) at the base of the pumpkin.
- The stem should be dry and hard. If it’s still green or pliable, your pumpkin needs more time on the vine.
- Cut the stem with pruning shears, leaving 4-6 inches attached to the pumpkin.
- Handle pumpkins carefully, avoiding damage or punctures that can lead to rotting.
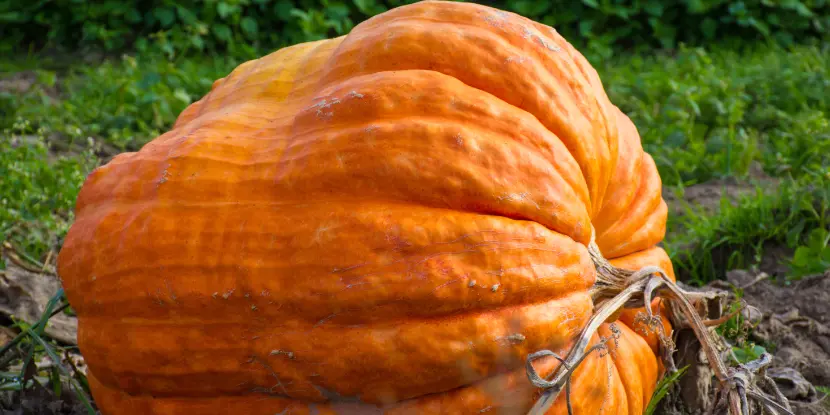
Success! A giant pumpkin worthy of admiration.
Curing & Storage
Properly cured pumpkins can be stored for several months. To toughen the skin and improve flavor, leave them in a warm, dry place for 10-14 days. This can also help prevent disease during storage.
- Clean off any dirt or debris with a damp cloth.
- Leave pumpkins in direct sunlight (weather permitting), or in a dry, well-ventilated area, with the stem facing up.
- Rotate pumpkins every few days to ensure even curing.
- Check for signs of rot and remove any affected pumpkins immediately.
- After curing, store pumpkins in a cool, dry place with good airflow and consistent temperature (around 50-55°F).
FAQs: How to Grow Pumpkins
Q: How do I choose the right pumpkin variety for my garden?
Select a variety based on your climate, space, and what you plan to use the pumpkins for. Small varieties are better for limited spaces, while larger varieties need more room to grow.
Q: When is the best time to plant pumpkin seeds outdoors?
Plant pumpkin seeds after the last frost date, when the soil temperature is at least 70°F.
Q: How much water do pumpkin plants need?
Water deeply once a week or more often during hot, dry periods. Keep the soil moist but not waterlogged. Always water at the base to protect leaves from fungal disease.
Q: What kind of soil do pumpkins need?
Pumpkins prefer well-draining, slightly acidic soil with plenty of organic matter and nutrients. A pH level between 6.0-6.8 is ideal.
Q: Can I grow pumpkins in containers?
Yes, but choose a compact variety and ensure the container is large enough for the plant’s root system.
Q: How long does it take for a pumpkin to mature?
Most pumpkin varieties mature in 75-100 days.
Q: What’s the best way to prevent pests and diseases in pumpkin plants?
Use row covers to protect young plants, practice crop rotation, and apply organic pesticides when necessary.
Q: How do I know it’s time to harvest my pumpkins?
The pumpkin will have a deep, solid color and a hard rind. The stem will be dry and brittle.
Q: What’s the value of curing pumpkins?
Curing toughens the skin, improves flavor, and extends the shelf life of the pumpkin.
Q: How do I train my pumpkin vine on a support structure?
Secure the vine to a trellis or fence using soft ties, and prune as necessary to encourage healthy growth along the support.
Q: Why is thinning important in growing pumpkins?
Thinning allows the plant to direct its energy toward fewer but larger and healthier fruits.
Q: Can pumpkins grow in partial shade?
Pumpkin plants tolerate partial shade. However, this may affect the size and number of fruits they yield.