A few strategic upgrades can breathe new life into a home. They don’t have to cost a fortune or demand a massive time investment. Even minor updates can transform a space.
Fresh paint, updated hardware, and improved lighting can make rooms appear larger, brighter, more modern, and more inviting.
Small enhancements may also offer practical benefits. Replacing worn caulk prevents water damage. Upgrading light fixtures can reduce energy costs. Power washing outdoor areas protects surfaces from long-term wear.
The weekend upgrades we suggest in this blog should fit perfectly into your schedule. They’re manageable, rewarding, and budget-friendly.
10 Easy Weekend Projects
1. Paint an Accent Wall
Estimated Cost: $40–$60
Tools Needed: Paint roller, painter’s tape, drop cloth, paint tray
Transform a room by painting one wall a bold or contrasting color. This project adds depth and character without overwhelming the space.
Steps:
- Choose a high-quality paint in your desired shade
- Tape off edges and protect floors with a drop cloth
- Apply two coats, allowing adequate drying time between each coat
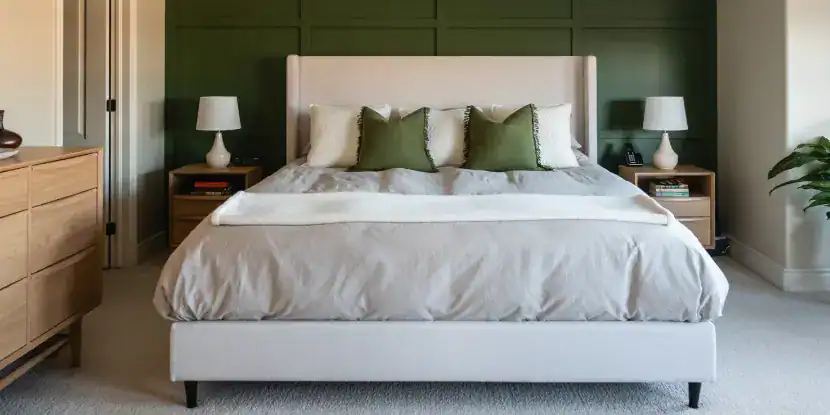
An olive green accent wall modernizes a bedroom.
2. Replace Old Light Fixtures
Estimated Cost: $30–$80
Tools Needed: Screwdriver, wire stripper, voltage tester
Outdated light fixtures can make an entire room feel antique. Swapping them out is easier than you think and instantly modernizes your space.
Steps:
- Turn off the power at the circuit breaker
- Remove the old fixture and disconnect wires
- Install the new fixture following the manufacturer’s instructions
- Test before reassembling covers
Energy Efficiency Tip: Consider LED-compatible fixtures to lower electricity bills.
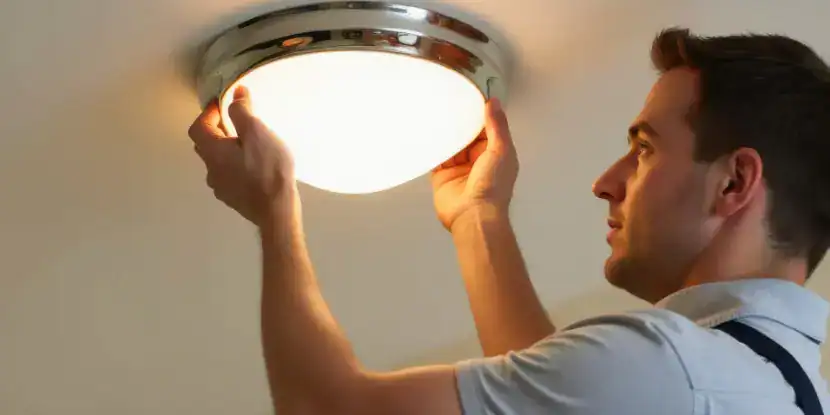
A homeowner replaces a ceiling light fixture.
3. Frame Your Bathroom Mirror
Estimated Cost: $25–$50
Tools Needed: Miter saw or pre-cut frame kit, adhesive, measuring tape
A plain builder-grade mirror becomes a statement piece with a simple frame. This upgrade adds a polished, custom look to your bathroom.
Steps:
- Measure mirror dimensions carefully
- Cut trim pieces or purchase a frame kit
- Attach using a strong adhesive designed for mirrors
- Allow adhesive to cure thoroughly before use
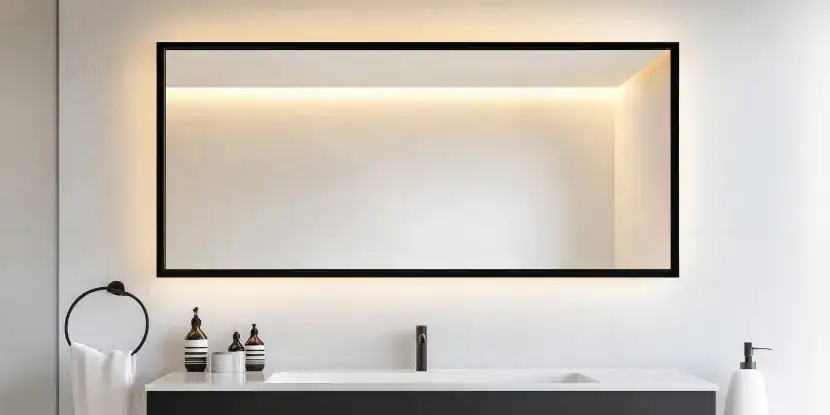
A jet black mirror frame breathes new life into a bathroom.
4. Paint or Replace Interior Door Hardware
Estimated Cost: $20–$60
Tools Needed: Screwdriver, spray paint (if painting), sandpaper
Door handles, hinges, and locks are often overlooked, but updating them creates a cohesive, modern aesthetic throughout your home.
Steps:
- Remove existing hardware
- Either spray paint with a metallic finish or replace entirely
- Reinstall securely, ensuring proper alignment
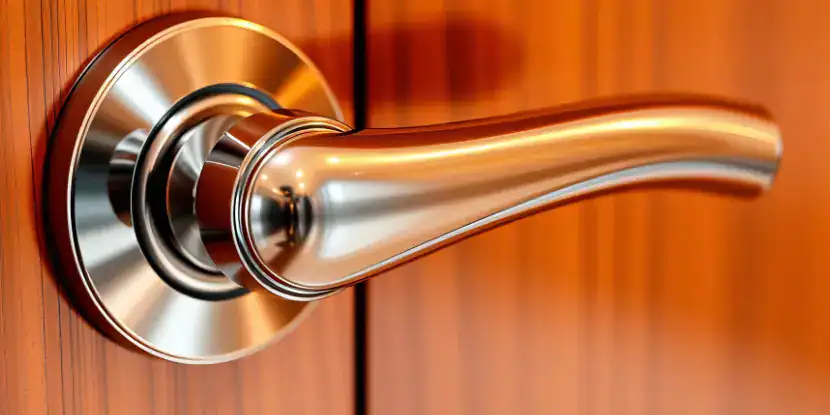
Kitty will thank you for installing a door handle she can turn by herself.
5. Refresh Grout & Caulk
Estimated Cost: $15–$30
Tools Needed: Grout pen or new grout, caulk gun, utility knife, cleaning supplies
Dingy grout and cracked caulk make kitchens and bathrooms look neglected. Refreshing these areas is a low-cost way to control mold and restore a clean, well-maintained appearance.
Steps:
- Remove old caulk with a utility knife
- Clean surfaces thoroughly
- Apply new caulk in smooth, even lines
- Use a grout pen or reapply grout where needed
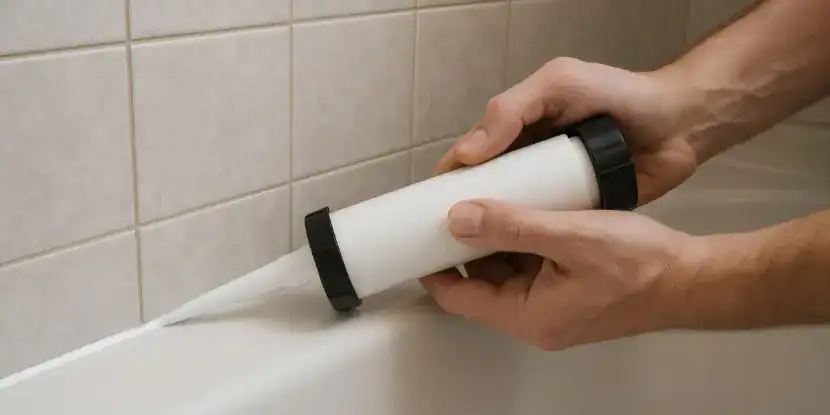
“Caulking is so much fun,” said no one ever. But it does wonders for your bathroom and prevents water damage.
6. Upgrade Kitchen Cabinet Hardware
Estimated Cost: $30–$70
Tools Needed: Screwdriver, drill for new holes, measuring tape
New cabinet pulls and knobs can magically rejuvenate the look of your kitchen without the expense of replacing cabinets.
Steps:
- Measure existing holes to determine sizing
- Remove old hardware
- Install new pulls or knobs, ensuring consistent placement
- Consider brushed nickel or matte black for a modern touch
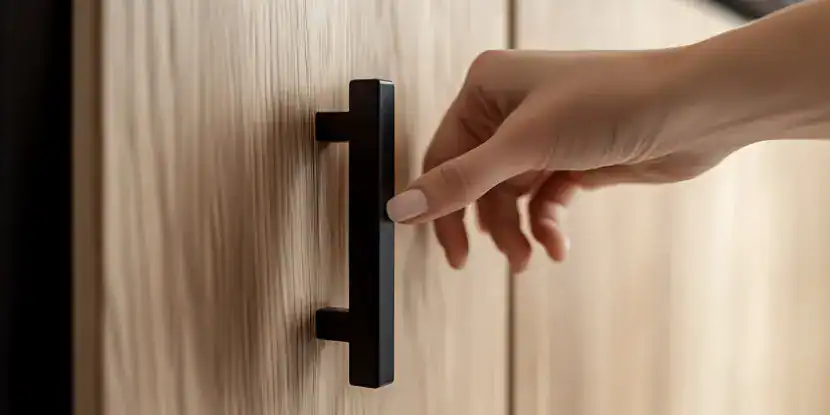
Modern black handles upgrade the look of a wood cabinet.
7. Power Wash Outdoor Areas
Estimated Cost: $50–$75 (rental cost)
Tools Needed: Power washer (rent if you don’t own one), safety goggles
Dirt, algae, and grime accumulate on driveways, patios, and walkways. Power washing restores these surfaces and prevents long-term damage.
Rent equipment from nearby home improvement stores to save money and support local businesses.
Steps:
- Clear the area of furniture and debris
- Start with a lower pressure setting to avoid damage
- Work in consistent, overlapping strokes
- Allow surfaces to dry completely
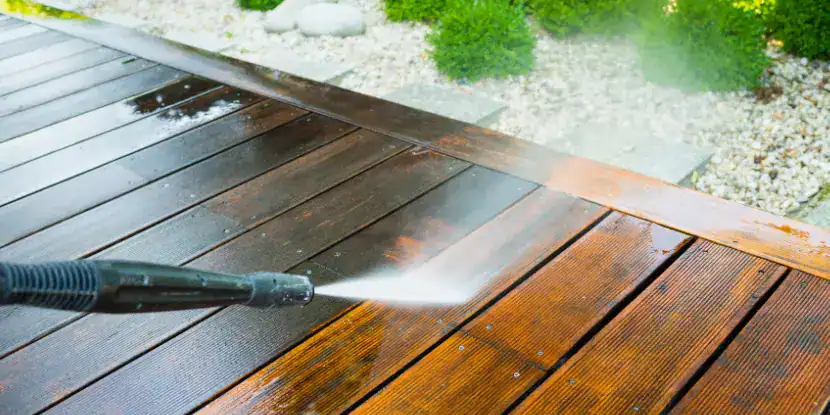
A power washer blasts away years of grime from a wood deck.
8. Replace or Update Window Treatments
Estimated Cost: $40 and up
Tools Needed: Drill, measuring tape, level, brackets
New window blinds, shades, or curtains add privacy, control light, and enhance your decor.
Steps:
- Measure windows accurately (inside or outside mount)
- Remove old hardware
- Install new brackets and hang treatments
- Adjust for proper fit and function
Energy Efficiency Tip: Choose cellular shades or thermal curtains to improve insulation.
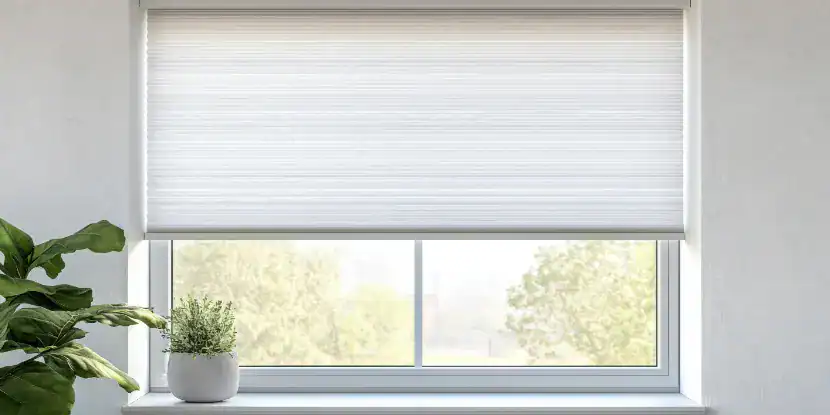
Sleek cellular shades have a bonus property: they insulate like the dickens.
9. Add Outdoor Solar Lighting
Estimated Cost: $30–$60
Tools Needed: None (most are stake-mounted)
Solar lights improve safety, highlight landscaping, and create ambiance without increasing your electric bill.
Steps:
- Choose high-quality solar lights
- Place them along walkways, garden beds, or entryways
- Ensure panels receive adequate sunlight during the day
- Test positioning before permanently installing
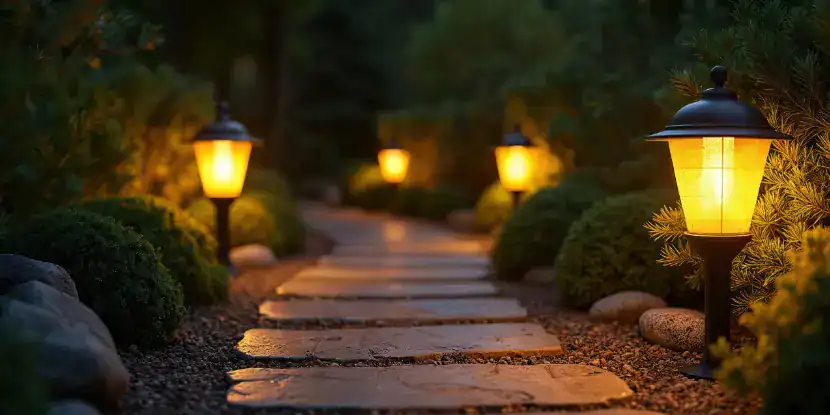
Solar lamps illuminate a pathway at night.
10. Clean & Organize the Entryway
Estimated Cost: $20–$50
Tools Needed: Hooks, baskets, small shelving unit, cleaning supplies
Your entryway sets the tone for your entire home. A clean, organized space makes a strong first impression.
Steps:
- Declutter and remove unnecessary items
- Install hooks for coats, bags, and keys
- Add a small bench or basket for shoes
- Incorporate a mirror to expand the space visually
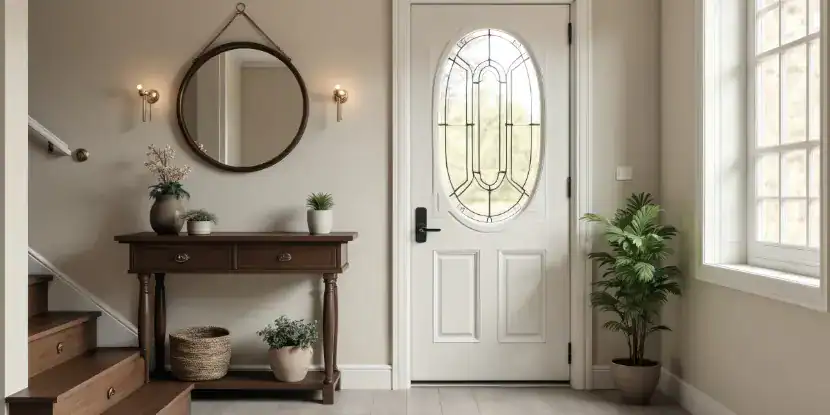
This AI rendering of a neatly organized entryway invites you into its AI world.
FAQs: Easy Home Improvement Projects
Q: What if I’ve never done a home improvement project before?
Start with simpler tasks like painting an accent wall or upgrading cabinet hardware. Watch video tutorials to build confidence and understanding before diving in.
Q: Can I really complete these projects in one weekend?
Most of these projects take 2–6 hours, depending on your experience level and the size of the area. Planning and gathering materials in advance will save time.
Q: How do I know if a project is worth the investment?
Focus on updates that enhance functionality, improve energy efficiency, or boost curb appeal. Even small changes can significantly increase a home’s value.
Q: What if I make a mistake?
Many projects (like painting or caulking) are forgiving and can be redone. Watching expert tutorials and asking questions at local stores can help you avoid common pitfalls.
Q: Are there safety precautions I should take?
Always turn off the power when working with electrical fixtures. Wear safety goggles when using power tools or chemicals. Work in well-ventilated areas when painting or using adhesives.
Q: Can I do these projects if I rent my home?
Some projects (like organizing or adding solar lights) are renter-friendly. Others may require landlord approval. Always check your lease agreement before making permanent changes.
Q: What if I need expert advice?
Ask for help from your local Anawalt professional! Many stores offer free advice and can help you troubleshoot stubborn challenges.

