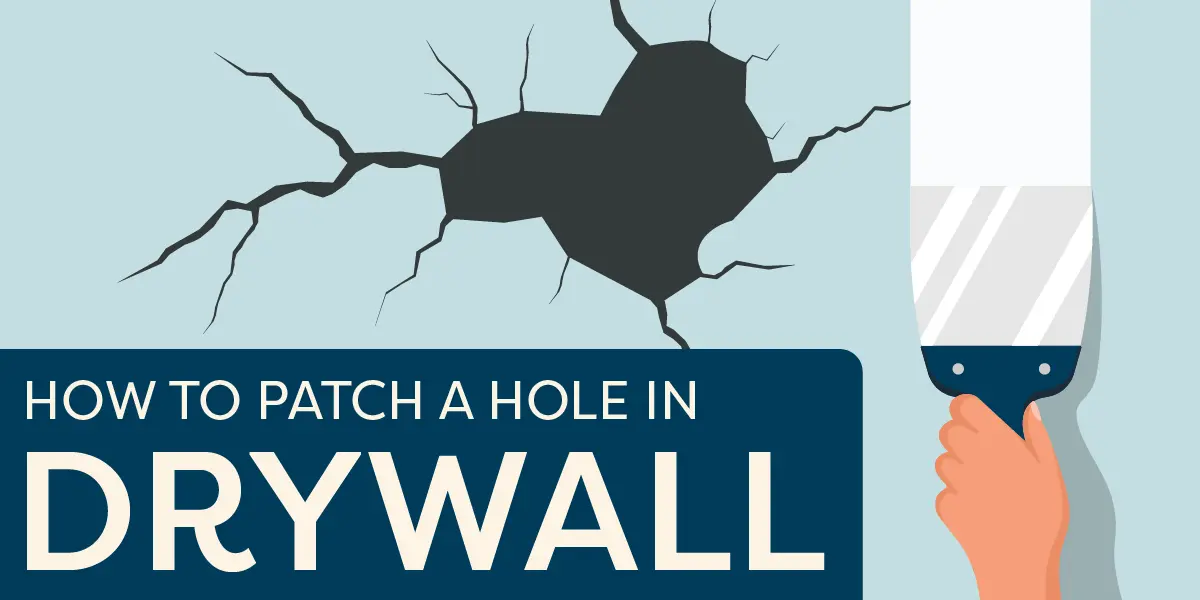
Every drywall has a history — a history of dings, dents, scuffs, and holes.
Some holes may be easy to hide, while others are the size of a baseball — the very thing the kids were chucking about the house last week.
Unless you pack the house in bubble wrap (“Not a bad idea,” you may think), the walls will take their lumps, like a car in a crowded Costco parking lot.
Scuffs can be hidden or painted over. Baseball-sized holes are another matter. We’ll show you how to fix them.
Drywall & Its Vulnerabilities
Drywall, or gypsum board or plasterboard, consists of a gypsum core enclosed between two thick sheets of paper. Gypsum is a soft mineral that provides excellent fire resistance and sound insulation. However, it offers little resistance against impacts.
Drywall is the material of choice for interior walls and ceilings in most modern American homes. It’s cheap, easy to install, lighter than wood or brick, and it readily accepts a coat of paint.
But, as noted, it’s susceptible to damage.
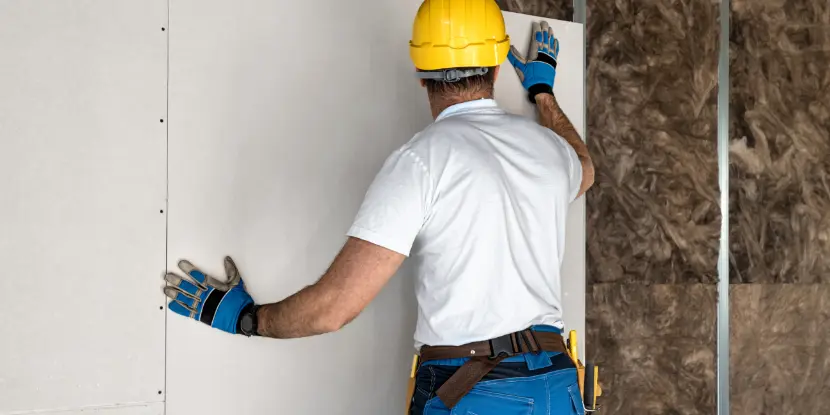
Worker installing drywall in a new home.
Common Causes of Drywall Damage
- Accidental impacts: A door flung open too forcefully, a stray piece of furniture, or an indoor activity gone wrong.
- Anchors and screws: Over time, the anchors or screws used to hang pictures, shelves, or other items can create expanding holes in drywall.
- Water damage: Leaky roofs or plumbing issues can lead to soggy drywall that eventually crumbles.
- Pest infestations: Rodents and insects can burrow into walls and create nests that weaken structures.
- Settling of the house: Settling foundations can cause cracks and fractures in the drywall that may worsen if not addressed promptly.
- Temperature fluctuations: Extreme changes in temperature and humidity can expand, contract, crack, and peel drywall.
- Poor installation: Inadequate support around corners or joints can lead to sagging and cracking.
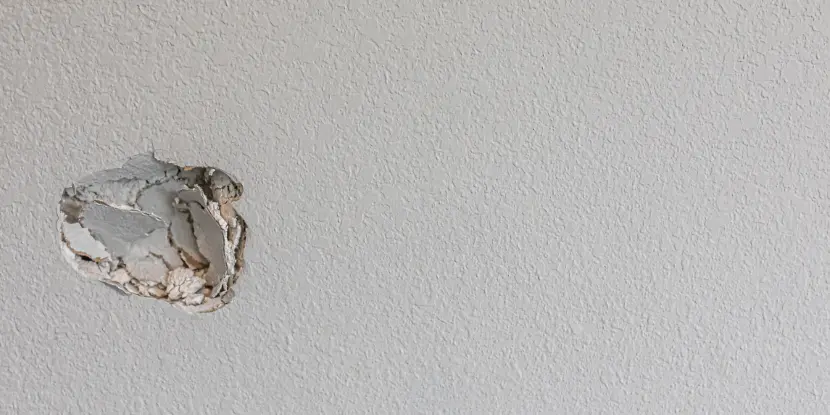
A baseball-sized hole in the wall — perfect for patching!
Tools & Materials You’ll Need to Repair Drywall
Essential Tools
- Utility knife
- Drywall saw
- Putty knife (4-inch and 6-inch)
- Sanding block or sandpaper (medium and fine grit)
- Dust mask
Materials
- Drywall patch or mesh tape
- Drywall tape
- Joint compound (also known as drywall mud)
- Primer and paint
- Drop cloth or plastic sheeting
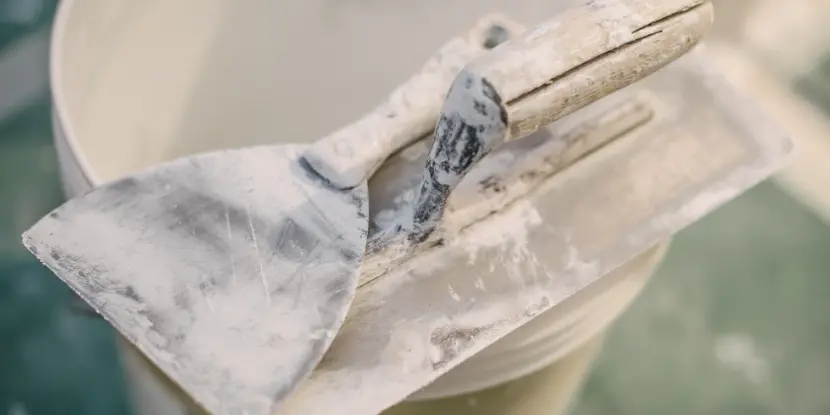
A trowel can help you achieve a smooth finish for larger holes.
How to Patch a Hole in Drywall: 6 Easy Steps
Now, it’s time to get down to business. Follow these steps to restore your wall to its original glory.
1. Assess the Damage
The size and type of hole will determine the approach you take.
- Small holes (up to 1/2 inch): Often caused by nails or screws, these are easily fixable with joint compound.
- Medium holes (up to 2 inches): Require a patch and compound for a seamless finish.
- Large holes (over 2 inches): You might need to cut a piece of drywall to fit the hole.
2. Prepare the Area
Lay a drop cloth or plastic sheeting under your work area. Use a utility knife to eliminate any jagged edges around the hole and prepare a smooth surface for the patch.
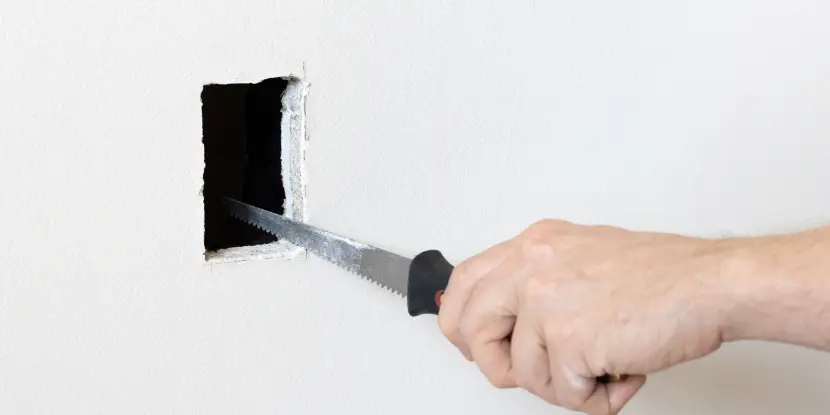
Shaping a hole with a keyhole saw.
3. Apply the Patch
Depending on the size of the hole, you’ll use either a mesh tape or drywall patch.
- For small holes: Apply a layer of joint compound directly over the hole, smoothing it out with a putty knife.
- For medium holes: Place a piece of mesh tape over the hole, then apply a layer of joint compound.
- For large holes: Cut a piece of drywall to fit the hole snugly, secure it with screws, and apply mesh tape over the seams.
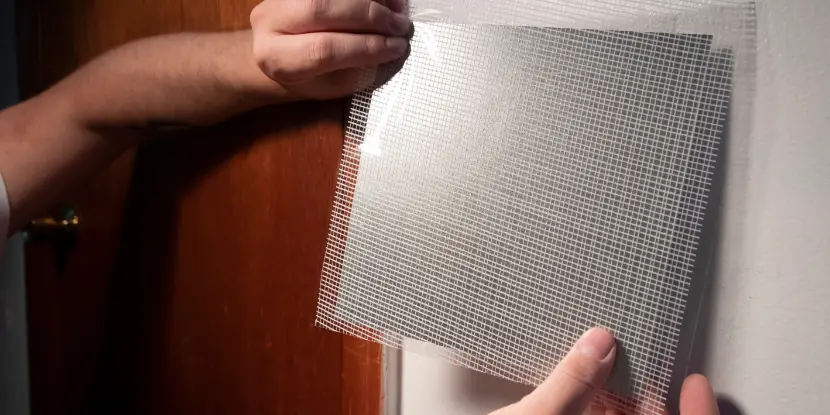
Large holes may need extra support, like a drywall or screen mesh patch.
4. Add Joint Compound
Use a 4-inch putty knife to spread a thin layer over the patch, extending a few inches beyond the edges. Let it dry completely, which usually takes about 24 hours.
5. Sand & Smooth
- Wear a dust mask to protect yourself from fine particles.
- Use medium-grit sandpaper to smooth out the dried compound, then switch to fine-grit sandpaper for a flawless finish.
- Wipe away any dust with a damp cloth.
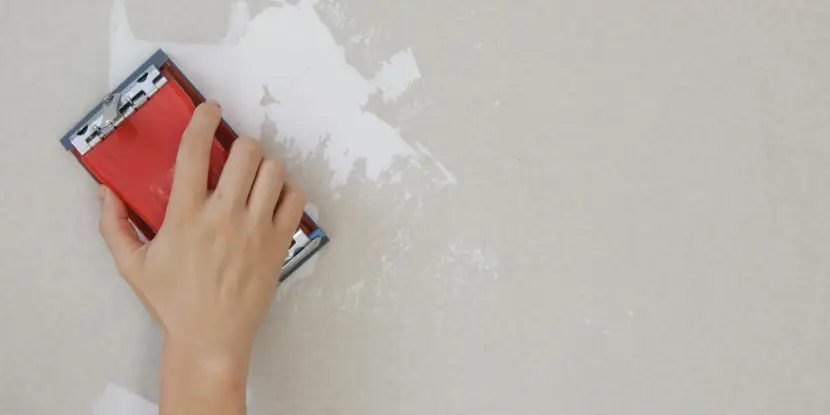
A sanding block can give your wall patch a more even finish.
6. Prime & Paint
Apply a coat of primer over the patched area. Once dry, paint the wall with matching paint. Stand back and admire your handiwork — your is a DIY masterpiece!
Pro Tips
A seamless repair is all about attention to detail. Here are some tips for a professional presentation:
- Feather the edges to blend the joint compound into the surrounding wall.
- Instead of one thick layer, apply multiple thin compound layers for a smooth finish.
- If you don’t have leftover paint, take a paint chip to the store for a perfect match.
- Try to work in a space with a controlled temperature. Extremes can affect the setting time and overall quality of your repair.
- Invest in higher-quality tools. A sharper utility knife, a comfortable putty knife, and effective sanding blocks can improve the finish.
- If you’re applying multiple layers of joint compound, be patient. Allow each layer to dry completely before adding the next.
- If you are repairing a larger section, consider using a drywall trowel instead of a putty knife. This allows you to cover a larger area evenly with each stroke.
- Clean your tools promptly after finishing your project. Dried joint compound can be hard to remove, and maintaining your tools will extend their lifespan.
- If your walls have a specific texture, you may want to replicate it after painting. Tools like a texture sprayer or sponge can help achieve a uniform look.
- Check for other areas that may need attention. Catching problems early can save you time and effort in the long run.
FAQs: Patching Drywall
Q: How long does it take to patch a hole in drywall?
Patching a hole can take a few hours to several days, depending on the hole size and the compound’s drying time. Small repairs might be completed in an afternoon, while larger holes could take a couple of days.
Q: Can I patch a hole without replacing drywall?
For small to medium holes, joint compound and a patch can often be used without replacing any drywall. However, for structural integrity, large holes may require a replacement piece of drywall.
Q: Do I need to prime the patched area before painting?
Priming is essential to ensure the paint adheres properly and to prevent color discrepancies. Skipping this step could result in a patchy appearance.
Q: What if my patched area doesn’t look smooth?
If the patched area is uneven, apply another thin layer of joint compound and sand it again. Patience and multiple thin layers are crucial to achieving a smooth surface.
Q: Can I use spackle instead of joint compound for drywall repair?
Spackle’s okay for small holes less than 1/2 inch across. It dries quickly and is easy to sand. However, for larger holes, we recommend joint compound for a more durable and seamless repair.
Q: What should I do if my drywall is sagging?
Sagging drywall could indicate a structural issue. You can reinforce the support behind the drywall by adding shims or screws to give it more stability. If the damage persists, you may have to replace the affected sections.
Q: How can I prevent future drywall damage?
Ensure proper humidity controls in your home, regularly inspect for leaks and moisture, and maintain a stable temperature. Corner guards and furniture protectors can also shield walls from bumps and impacts.
Q: Is patching drywall a DIY project for beginners?
Patching drywall can be a manageable DIY project for most beginners, especially if the damage is minor. With the right tools, materials, and patience, most homeowners can accomplish simple repairs by following good instructions — like the directions in this blog!