Different plant species have different water needs. Whether you’re growing flowers, shrubs, or vegetables, it’s easy to overwater or underwater a garden.
Over-watering can harm your plants as much as under-watering. Plants that prefer drier soil will wilt in saturated soil, just like water-needy plants in dry soil.
At Anawalt Lumber, Hardware, and Nursery, we can help you create an efficient drip irrigation system for your flower beds and vegetable gardens for the best possible results. It starts with these four principles:
- Plant your garden in nutrient-rich, well-draining soil.
- Know each plant’s watering requirements.
- Regulate the amount of water each sprinkler or emitter dispenses.
- Efficiently dispense the right amount of water to each plant.
Well-Draining & Nutrient Rich Soil
- Southern California soils are silty and sandy. They tend to drain well, but are nutrient-poor. They might be rocky, like a river bed (which some once were), necessitating the removal of bigger rocks.
- Amending soils with mulch will improve them. They’ll have better water retention, proper drainage, and a robust nutrient profile.
- Another option is to build raised beds and fill them with a new mixture of rock-free planting soil.
- Anawalt stocks and recommends Kellogg’s soil and mulch products to mix with existing soil. They work equally well in standard and raised beds.
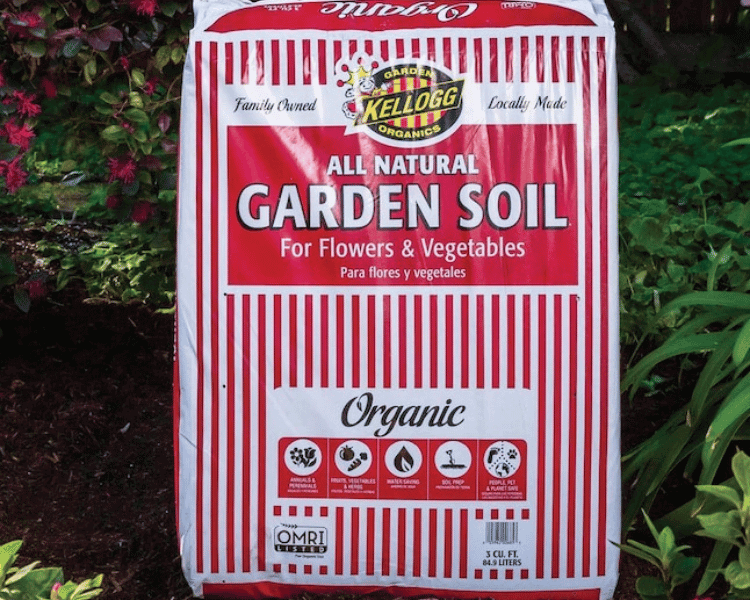
A bag of Kellogg’s gardening soil.
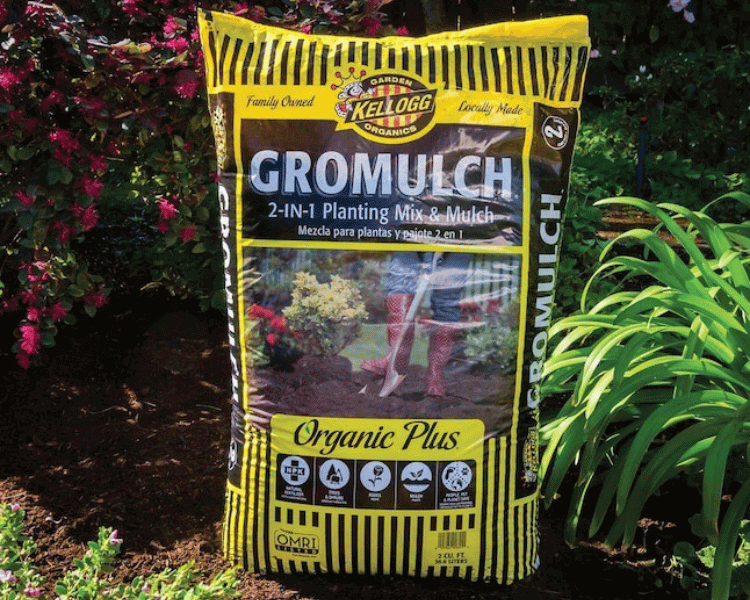
Kellog’s mulch & planting mix.
Knowing Each Plant’s Water Requirements
Coneflowers need less water than marigolds. Tomato plants need less water than zucchini. Watering a tomato plant like zucchini will lead to poor results, and vice versa.
Emitter Watering Rates (gallons per hour)
It’s important to know:
- Which type of emitters to use in your irrigation system
- How many gallons of water per minute or hour the emitters deliver
- How much time to set for each garden zone
Water Efficiency
Sprinklers disperse a lot of water over a large area. They’re great for grass lawns, but inefficient for bedding plants. Bubblers are more efficient than sprinkler heads, but they also flood areas that don’t need water.
Drip irrigation is the most efficient watering system. You can set it up to deliver only as much water as each plant needs. There’s no runoff or waste.
At Anawalt, we carry drip irrigation products for complete systems and can help you plan them.
Installing Drip Irrigation
Your options:
1. 1/2″ Tubing without Emitters
You buy the emitters separately, install them yourself, and route them to each plant.
Pros: You have more control over water delivery, down to the amount of water each plant receives and at which time of day.
Cons: Cost and time. It takes a lot of tubing and drip emitters for this set up and time and effort to install it. Flexibility is limited; any planting changes may necessitate reconfiguration of the system.
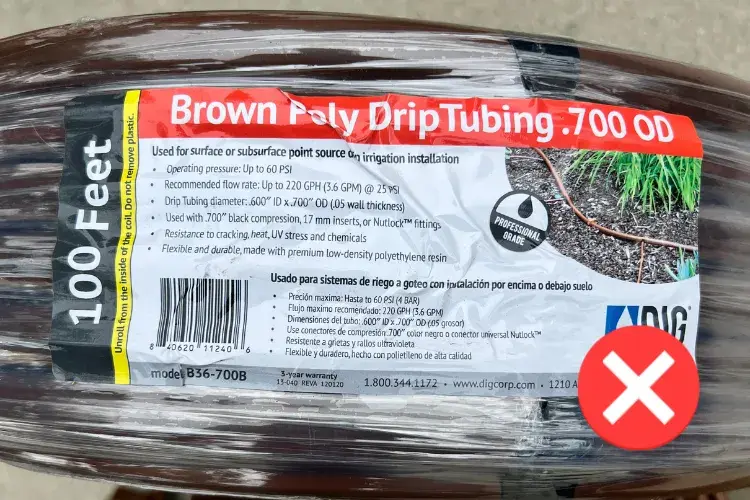
Tubing without emitters.
2. 1/2″ Tubing with Emitters
Pros: Emitters are pre-installed; there’s no need to buy tubing and separate emitters. You can always add more tubing to your system for the plants with higher water demands.
Cons: 1/2″ tubing is bulky and cumbersome in a densely planted flower bed. Emitters typically occur at 12″ or 18″ increments only, making it difficult to align them with plants.
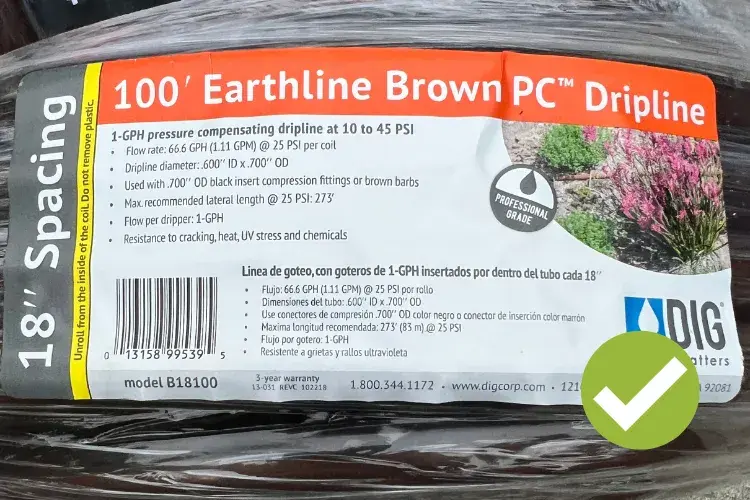
Tubing with emitters.
3. Recommended Method
1/2″ tubing (no emitters) and micro tubing with emitters.
Pros: 1/2″ tubing carries water to the beds. Micro tubing with emitters delivers water to each plant. Micro tubing and emitters come pre-installed, saving time and money. Emitters are placed at 6″, 12″, or 18″ increments — 6″ emitter spacing is the most efficient in flower beds or vegetable gardens. Runs can include micro tubing with different emitter spacing to match the idiosyncrasies of your garden. 1/2″ tubing with pre-installed micro tubing is cheaper than tubing with separate micro tubing and emitters. If a plant needs more water than the emitter’s gallonage rating, you can install more micro tubing on the line.
Cons: Runs of micro tubing with emitters can’t exceed 18′. Micro tubing requires more stakes than 1/2″ tubing with emitters, adding cost and lending to a more cluttered look.
How to Install Our Recommended Drip Irrigation System
Materials
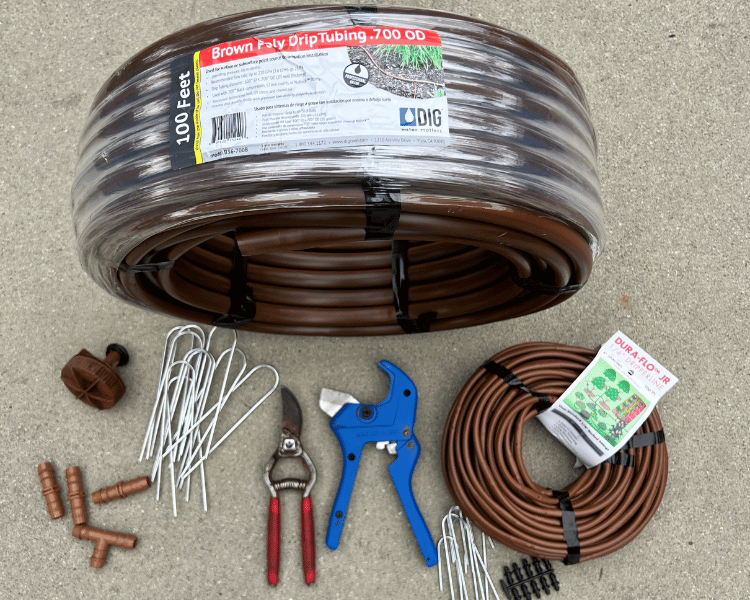
Tools and materials needed to set up drip irrigation.
- 1/2″ poly supply tube (comes in varying lengths from 50′, 100′, and longer)
- 1/4″ micro tubing with emitters spaced 6″ apart (comes in 100′ lengths)
- Male connectors
- T connectors
- 1/2″ threaded male adapter to connect the valve to the supply line tube
- Plugs
- Stakes
- End of supply line diaphragm or pincher
Tools
- Pipe cutter or clippers to cut the supply pipe and tubing
- Hole punch to create a hole in the supply tube
- Mallet for pounding in stakes
- Tape measure
Step-by-Step Instructions
1. Connect 1/2″ tubing to the valve (the valve should have a filter).
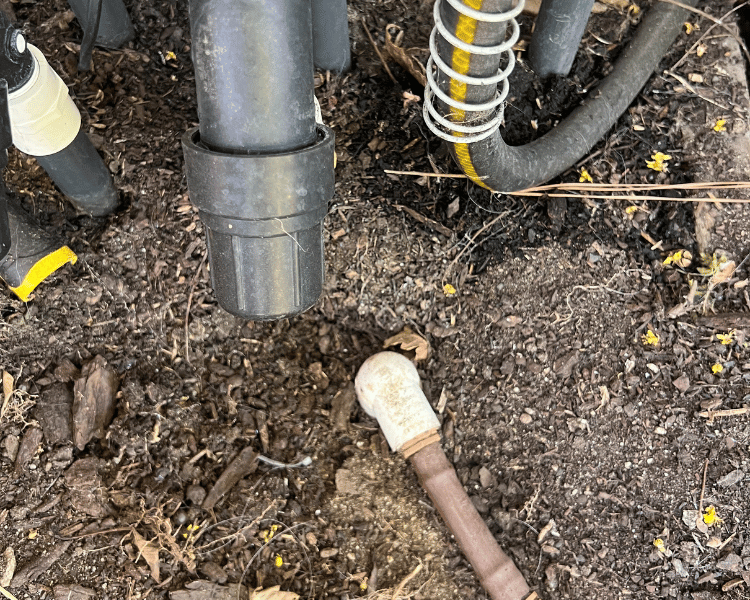
Connection point for drip irrigation.
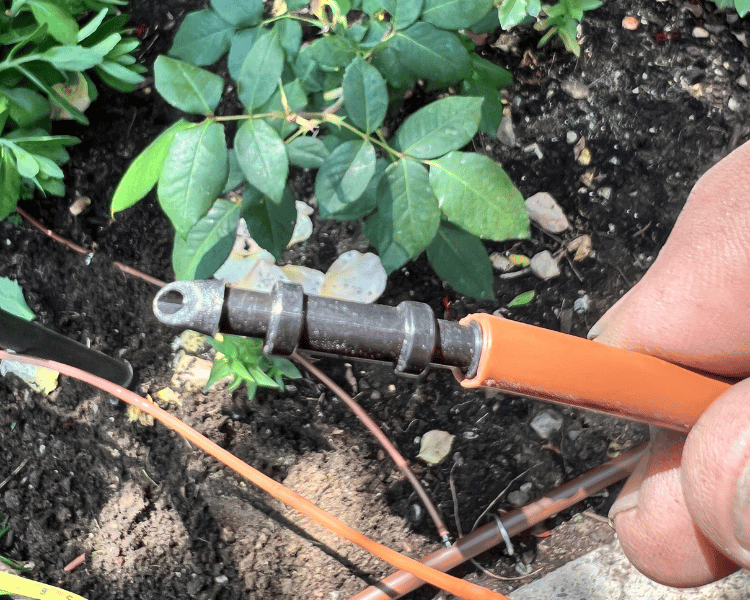
2. Roll out 1/2″ tubing to your flower or vegetable garden. Stake down the tubing and tie off the ends of the supply lines with a supply line pincher or a diaphragm that bleeds out the air.
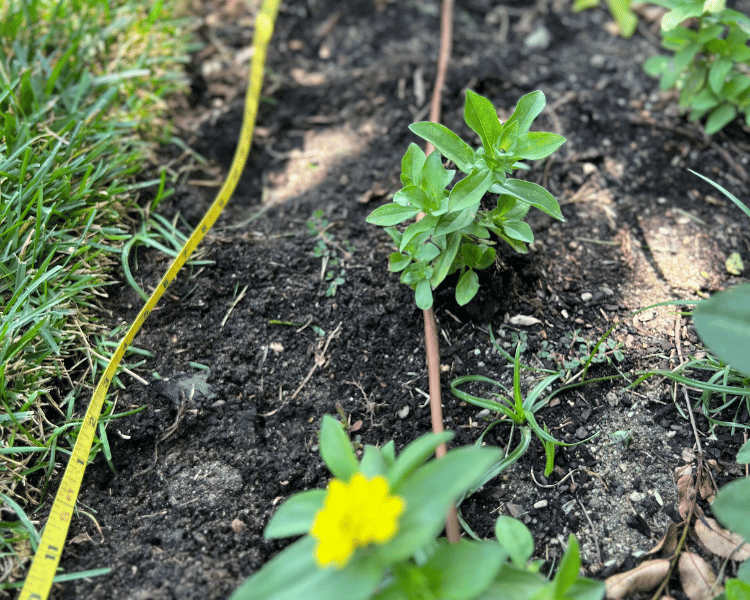
3. Measure the distances for each row. 18′ is the maximum. This will tell you how many rows you can cover.
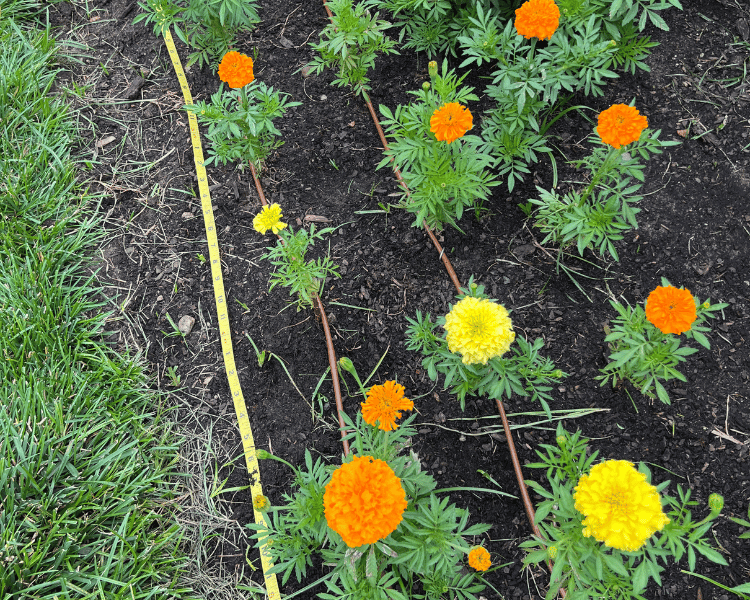
Measuring lines of drip irrigation tubing.
4. Connect the micro tubing to the 1/2″ supply tube.
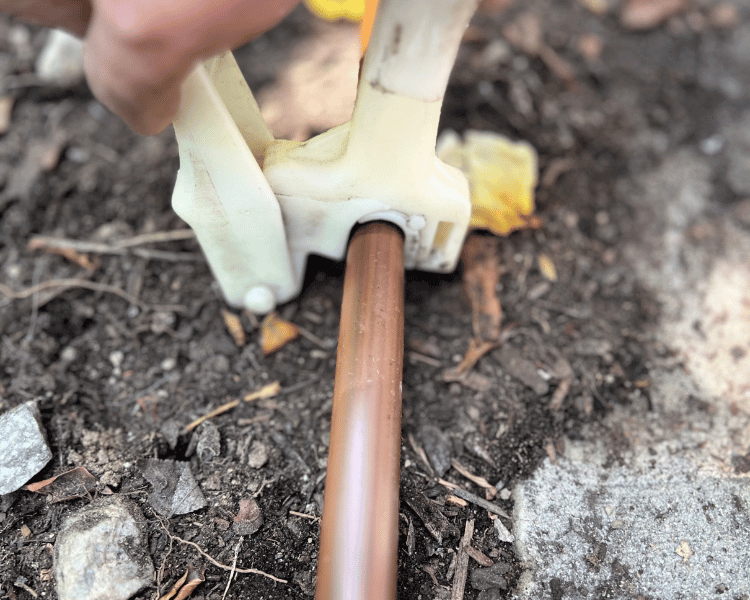
Connecting micro tubing to a supply tube.

Supply tubing with a hole punched for micro tubing.
A micro tubing connector.
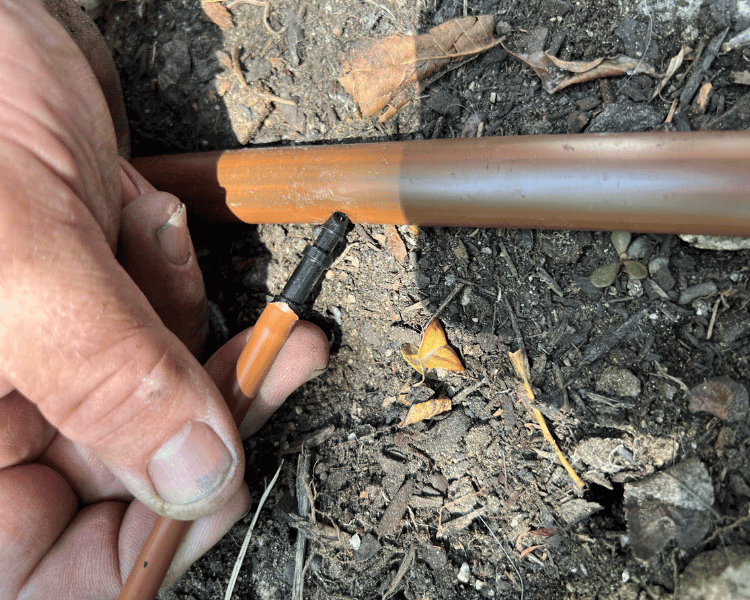
Inserting the micro tubing connector into the supply tube.
5. Lay out the micro tubing rows. Weave the micro tubing between plants in each row and stake the micro tubing in place as needed.
Plants and shrubs with higher water demands should have more emitters placed around them. Dig a circular reservoir around larger plants like roses.
Micro tubing laid out between plants.
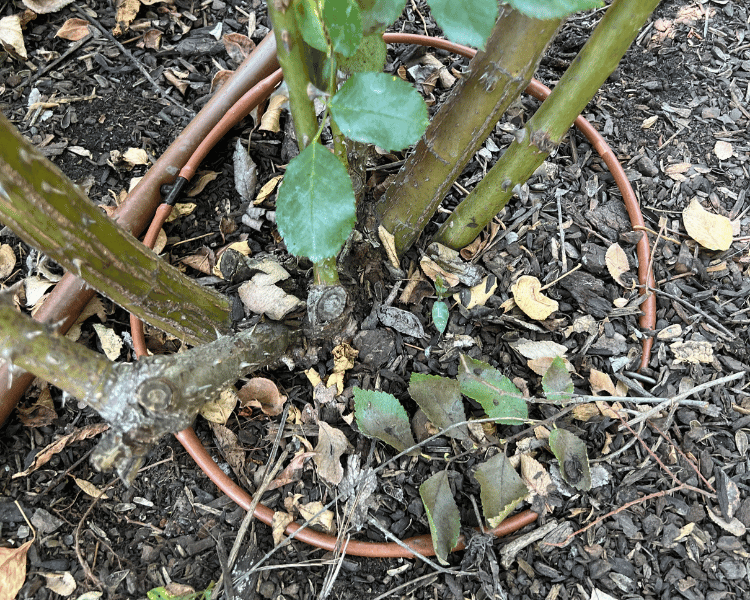
Micro tubing wrapped around the base of a rose bush.
6. Plug the ends of the micro tubing to seal off leaks.
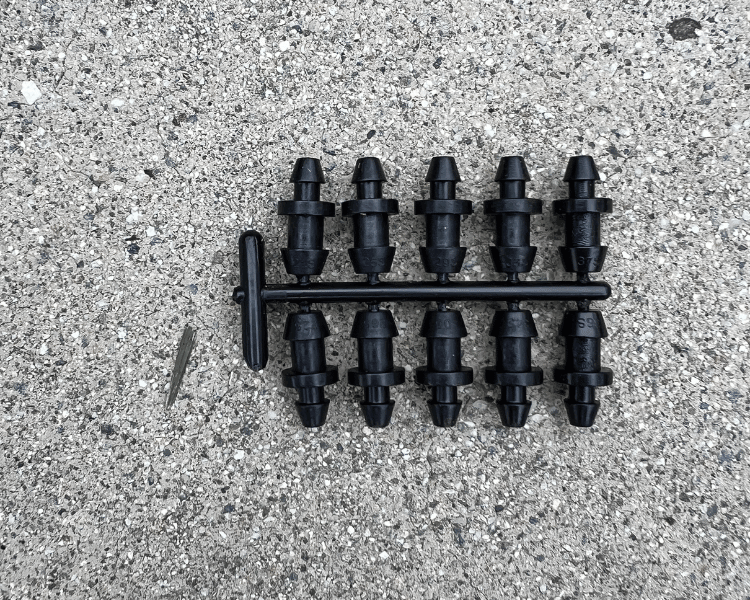
Micro tubing plugs.
7. Set up your timer.
- We recommend the Orbit B-hyve timer, available at Anawalt stores. You can manage it via a cell phone app.
- Set up your drip irrigation zones based on how many gallons per hour the emitters will dispense and how much water the plants need. Example: Emitters will provide 1/2 gallon of water per hour. The plants each need 1 quart of water, so the timer would be set to 30 minutes.
- Frequency of watering will be determined by soil moisture. The Orbit B-hyve timer can track soil moisture by zone.
FAQ: Installing a Drip Irrigation System
Q: Why is drip irrigation a good idea in Southern California?
A: Drip irrigation is ideal for Mediterranean climates due to its water efficiency, which is especially valuable in a region with limited rainfall and frequent drought conditions.
Q: How much water does a drip irrigation system save compared to traditional sprinklers?
A: Drip irrigation can save between 30% and 50% more water than traditional sprinkler systems by delivering water directly to the plant’s root zone and reducing evaporation.
Q: What is the approximate cost of installing a drip irrigation system?
A: The cost can vary widely depending on the size of the area and the system’s complexity, but on average, it ranges from $300 to $1,500 for a typical residential garden.
Q: Can I install a drip irrigation system, or do I need a professional?
A: It’s easy to install simple systems DIY. For more complex setups or large areas, consider hiring a professional to ensure optimal design and efficiency.
Q: How often should I run my drip irrigation system?
A: This depends on several factors, including the type of plants, soil composition, and weather conditions. Generally, during the hottest months, deep watering 2-3 times a week is sufficient.
Q: Are there rebates for installing a drip irrigation system in Southern California?
A: Many local water authorities offer rebates for homeowners who install water-efficient irrigation systems. Check with your local water provider for current offers.
Q: How does a drip irrigation system work during the rainy season? Do I need to turn it off manually?
A: We advise installing a rain sensor that automatically shuts off your drip irrigation system when it rains.
Q: Can drip irrigation be used for all types of plants?
A: Drip irrigation can be customized with different emitters to meet the needs of various plants, from vegetable gardens to ornamental flower beds.
Q: How long do drip irrigation systems typically last?
A: With proper maintenance, a drip irrigation system can last up to 10 years. Always check for leaks and clogs in the emitters to extend the life of your system.
Q: Will installing a drip irrigation system increase my property value?
A: A drip irrigation system can improve the health of your landscape while promoting water efficiency, an attractive feature in arid regions like Southern California.
Q: How should I maintain my drip irrigation system to ensure it runs efficiently?
A: Regular maintenance should include inspecting for leaks, cleaning filters and emitters, and adjusting the system seasonally to accommodate the changing watering needs of your plants.