Applying a fresh coat of paint to your home is one of the easiest ways to give it new life. This supply checklist will ensure you have everything you need for your DIY home painting project.
Spackle
Spackle is a patching compound to fill in cracks, holes, and other imperfections in your walls and ceiling.
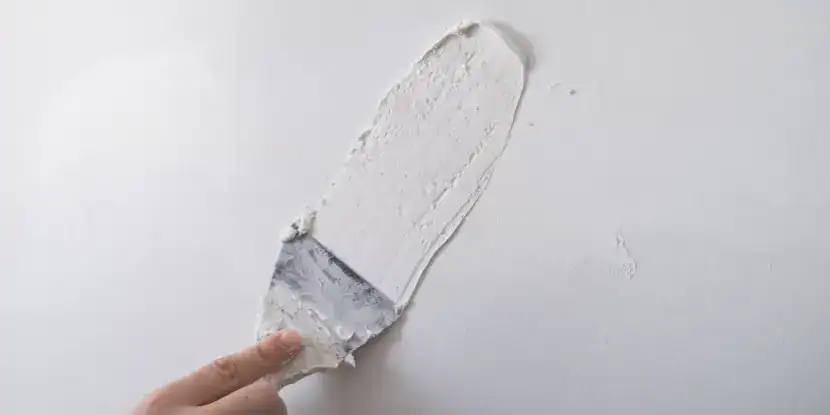
Always patch small holes and cracks with spackle before painting.
Caulking & Caulking Gun
Caulk seals around doors, windows, and baseboards. A caulking gun lets you apply caulk with precision.

You’ll need a caulking gun to seal windows and doors.
Razor Cutter/Scraper
A razor cutter or scraper helps remove peeling paint, wallpaper, and stubborn stains from walls.
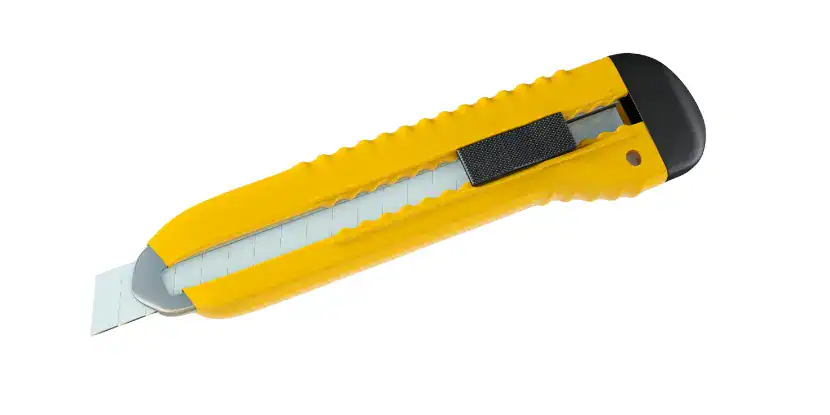
For safety, purchase a razor cutter with a retractable blade.
Painting Spatula/Palette Knives
A painting spatula or palette knife smooths the spackle and other patching materials, ensuring a flat surface.
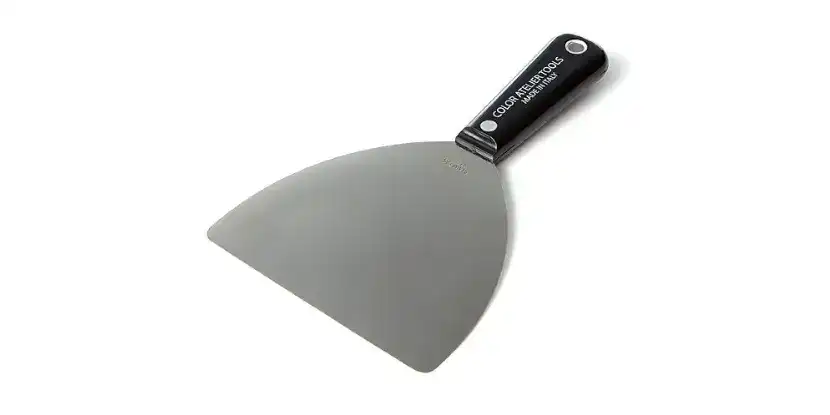
If you plan to patch holes and cracks, you’ll need a painting spatula or palette knives.
Sandpaper & Sanding Blocks
Sanding your walls and ceiling to a smooth finish is an important preparation step. You should have the appropriate sandpaper grit for your project, as well as a few different sizes of sanding blocks.
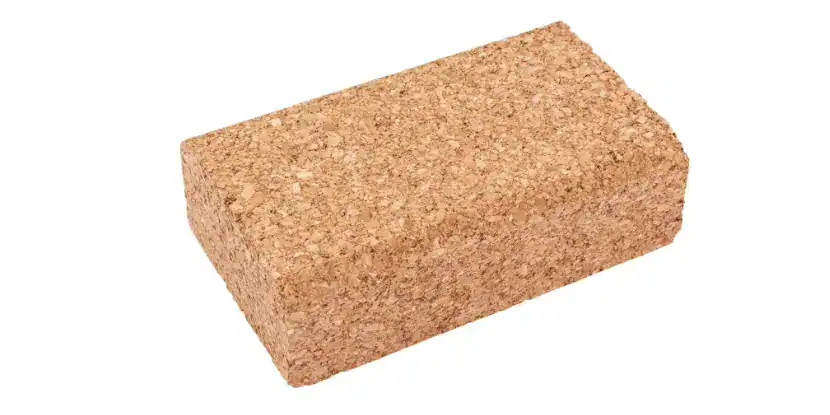
Sandpaper and sanding blocks ensure a smooth, flat finish for painting.
Paint Stripper
You may need to strip away old paint and wallpaper. A quality paint stripper will make the job easier.
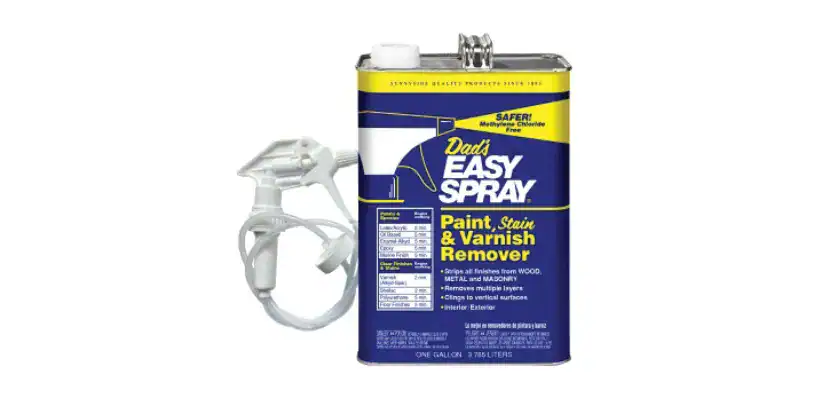
Paint stripper can remove many layers of old paint. You might be surprised what you find!
Safety Equipment
Make sure you have safety equipment like goggles, masks, gloves, and long sleeves when using chemical products like paint stripper.
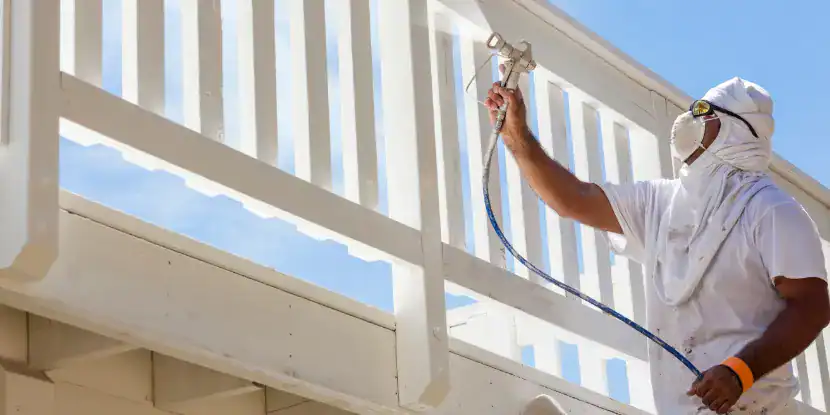
Always, always use a mask with a spray gun of with highly volatile paints indoors.
Sponges & Rags
Sponges and rags are essential for removing dust, dirt, and other debris from your walls before you start painting.
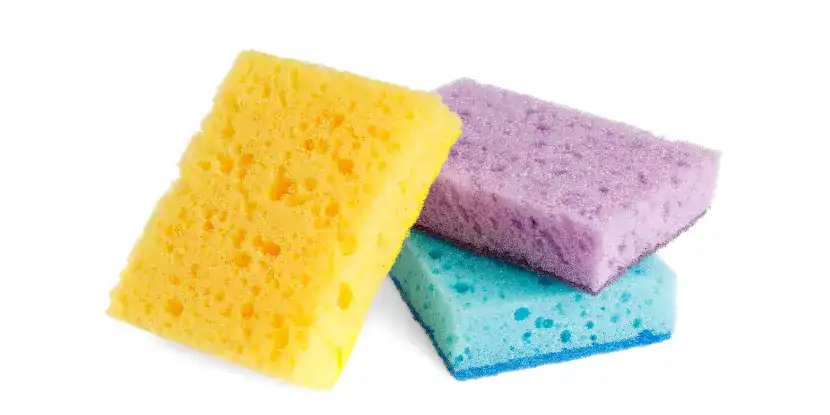
Keep sponges or rags handy to clean up little messes before they dry.
Painter’s Tape
Apply painter’s tape along the edges of the walls, trim, and ceilings to create a clean line. Press it down firmly to ensure a tight seal. Once the paint is dry, carefully peel away the tape. You may need a razor blade or putty knife to remove excess paint.
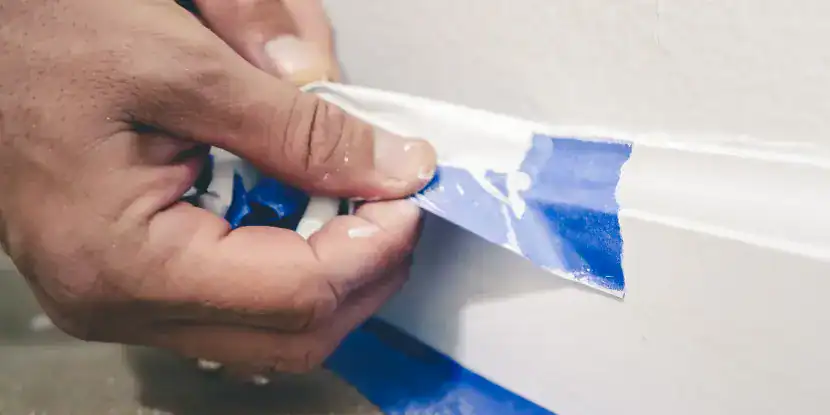
Painter’s tape masks off areas you don’t want painted and gives you clean, straight lines.
Drop Cloths & Tarps
Drop cloths protect your furniture and flooring from paint splatters. They should be thick enough to prevent seepage.
Non-professionals often prefer plastic tarps, which are cheaper, lightweight, easy to move, and ultimately disposable. They also provide a reliable barrier against paint splatters.
Lay tarps over the floor before you start painting, and remove them when done. Use tarps big enough to cover the entire floor so you don’t have to worry about moving them around. You may also need a few pieces of tape to secure them to the floor.
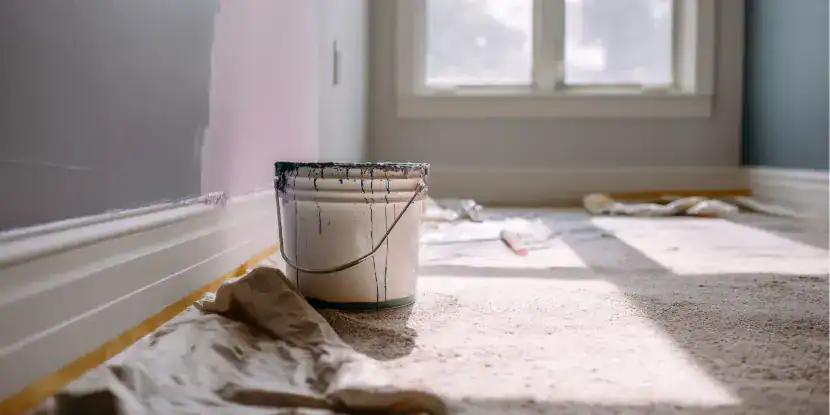
Tarps, drop cloths, and plastic covers protect your floors and furniture from paint splatters.
Paint Stirrers & Buckets
The longer paint sits, the more pigments settle in the can. Always stir it before painting to ensure an even mix. And remember to have a few buckets on hand to keep your rollers and brushes wet between coats.
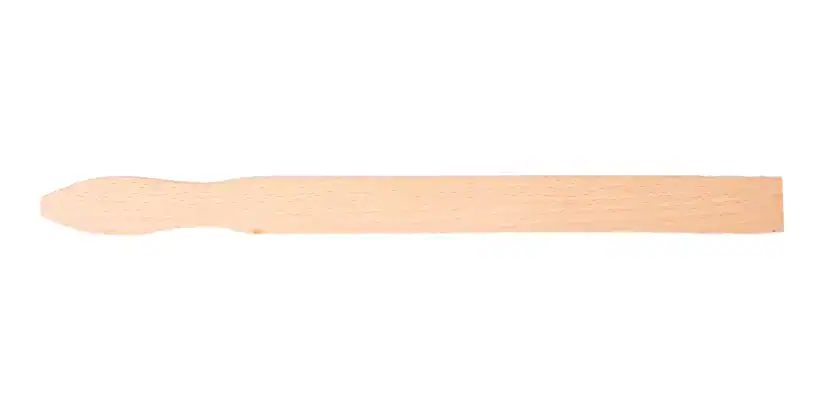
Paint pigment settles in the can. Stir paint thoroughly before application.
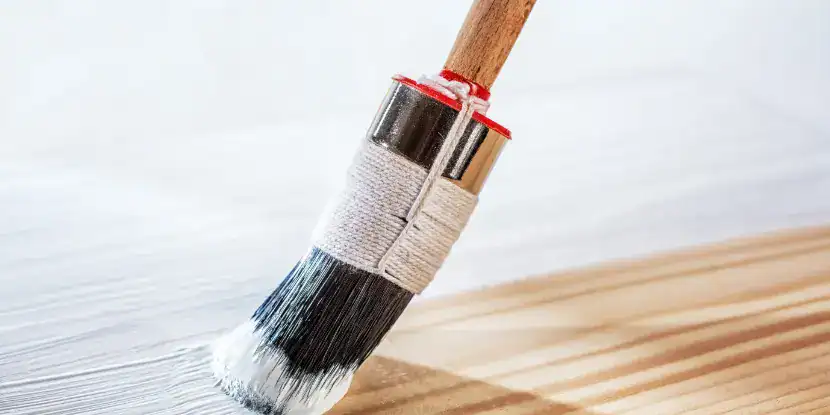
Paint Brushes
Natural-bristle brushes are great for oil-based paints, while synthetic bristles work better on latex paints. Foam brushes are inexpensive, easy to clean, and have a smoother finish with water-based paints.
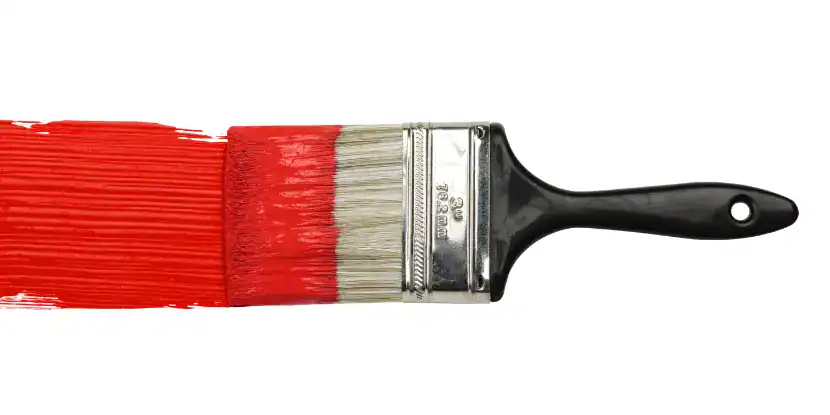
A quality paint brush holds more paint and offers better coverage with less streaking.
Rollers & Extension Poles
Rollers are great for painting large, flat surfaces like walls and ceilings. Different types of roller covers have different nap lengths for various purposes, such as painting trim or walls. An extension pole will allow you to reach the higher parts of the wall without using a ladder.
Paint rollers are indispensable tools for most painting jobs. Use an extension to reach ceilings or high walls.
Paint Trays & Liners
Paint trays are essential for any paint job involving a roller. Liners are disposable plastic sheets placed in the tray to prevent the paint from sticking, making it easier to clean up. A workaround is to place your paint tray inside a plastic bag and dispose of the bag when the job’s complete.
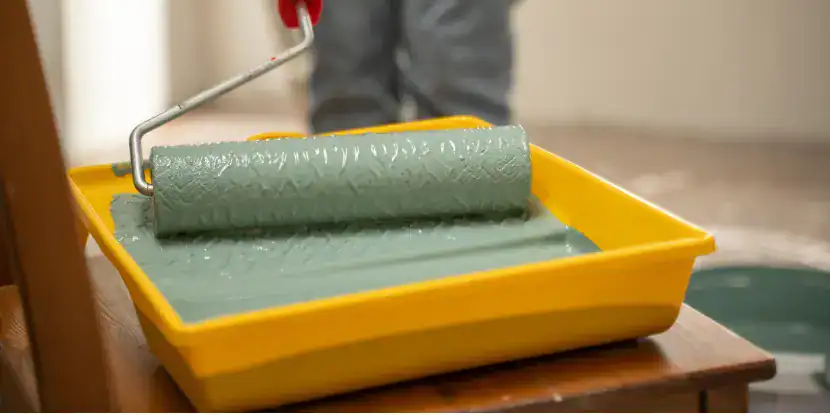
If you’re painting with a roller, a paint tray is a must.
Ladder or Stepladder
You’ll need a ladder or stepladder to access the higher portions of the walls and ceiling. Make sure it’s tall enough for your needs and sturdy enough to support your weight.
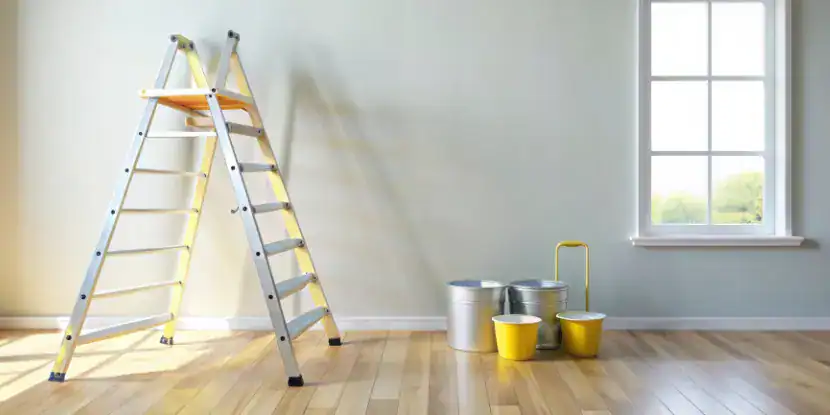
Don’t go cheap with a stepladder when your safety is at stake. Look for sturdiness and a stable platform for painting.
Primer
Primer creates a consistent base for your paint and helps it adhere to the surface. Some paints contain primer, but you may need to buy it separately.
Priming a surface guarantees better coverage and adhesion of the final layer of paint.
High-Quality Paint
Quality paint delivers the best results. Low-quality paints have fewer pigments, so they’re less vibrant and durable.
Now that you have all the home painting supplies you need, you’re ready to start your DIY project! For any questions or help, please stop by your local Anawalt Lumber store and ask for one of our paint specialists.
For more professional and long-lasting results, invest in Quality paint like Valspar from Anawalt. The paint shown also contains primer, saving you a step.
FAQs: Painting Supplies
Q: Do I need to sand the walls before painting?
Yes, sanding helps create a smooth surface and removes any imperfections, which ensures the paint adheres better for a flawless finish.
Q: What type of brush should I use for cutting in?
An angled sash brush is ideal for cutting in, as its shape allows you to achieve precise lines along edges and corners.
Q: How many coats of paint do I need?
Most projects require two coats of paint for even color and complete coverage. However, dark or bold colors may need an additional coat.
Q: What’s the best way to clean brushes and rollers after painting?
Use warm, soapy water for water-based paints and mineral spirits or paint thinner for oil-based paints. Be sure to clean them immediately after use to prevent the paint from drying.
Q: How do I avoid streaks and roller marks?
Apply paint evenly with consistent pressure and work in small sections. Overlap each stroke slightly and roll in a “W” pattern for seamless coverage.
Q: What’s the best way to test a paint color before committing?
Paint a small section of your wall or use a peel-and-stick color sample to see how the color looks in different lighting throughout the day.
Q: How long should I wait between coats of paint?
Always check the manufacturer’s instructions, but a typical drying time is 2–4 hours between coats for most water-based paints and 24 hours for oil-based paints.
Q: What can I do if the paint has a strong odor?
Ensure proper ventilation by opening windows and using fans. You can also place bowls of white vinegar or activated charcoal in the room to help absorb odors.