In 2018, US landfills received 12.2 million tons of wood, accounting for 8.3% of all municipal solid waste that year.
That’s a lot of trash, but it shows improvement over previous numbers. Plus, eco-conscious DIYers are finding new and creative ways to recycle and reuse old wood.
Old wood has character, and with a bit of effort and elbow grease, it offers an easy and inexpensive way to make a unique statement.
From furniture to accent pieces, there are endless possibilities for incorporating reclaimed wood into your space.
The Beauty of Reclaimed Wood & Why You Should Use It
1. Sustainability
Reusing wood reduces waste and minimizes reliance on new materials, making it a greener choice for home decor.
2. Affordability
Reclaimed wood is often free or cheap. Many people salvage pallets, old furniture, barns, or discarded wood from construction projects.
3. Charm & Character
Unlike new materials, aged wood projects its history with textures, tones, and imperfections that add personality to a design.
Tips
- Properly clean and treat the wood before using it in your home.
- Sand down rough edges and seal with a clear coat to protect against splinters.
Building DIY Decor
Even beginners can achieve amazing results with just a few tools and patience. Start by learning simple techniques like sanding, staining, and assembling pieces with nails or screws.
While experience and access to specialized tools can help you refine your designs and tackle more complex projects, they aren’t necessary initially. Over time, as you hone your skills and expand your toolkit, you’ll find it easier to bring your creative visions to life and achieve more polished results.
Essential Tools to Create Rustic Decor
- Measuring Tape: For ensuring accurate dimensions and proper fitting.
- Saw: A hand or circular saw for cutting wood to the desired size.
- Hammer: For assembling pieces and driving nails securely.
- Screwdriver or Drill: For attaching pieces with screws and making precise holes.
- Sandpaper or Sander: To smooth rough edges and prepare wood for staining or painting.
- Paintbrushes and Staining Supplies: For applying finishes that enhance the wood’s appearance and protect it.
- Clamps: To hold pieces in place while assembling or gluing.
- Safety Gear: Gloves, goggles, and a dust mask to protect yourself while working.
Now, enough of the preliminaries. On to the DIY!
1. Rustic Floating Shelves
Repurpose wood planks with sanding and stain to create the perfect down-home display for books, plants, or picture frames.
Materials Needed
- Reclaimed wood planks
- Shelf brackets or hidden mounts
Estimated Cost
$15–$30 (depending on additional hardware)
Pro Tip
Choose wood with prominent grain or imperfections for added character.
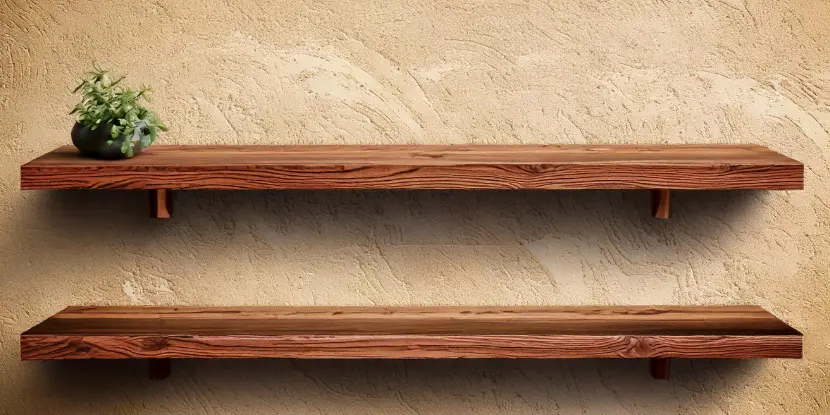
Floating shelves are one of the simplest DIY projects.
2. Reclaimed Wood Coffee Table
A reclaimed wood coffee table exudes ruggedness and inviting warmth. It also pairs well with most interior designs.
Materials Needed
- Reclaimed wood boards
- Table legs or hairpin legs
Steps to Build
- Assemble several wood planks for the tabletop.
- Sand the surface to soften sharp edges.
- Affix legs (metal hairpin legs or wood slats).
Estimated Cost
$50–$100 (depending on leg choice)
Pro Tip
For a more rustic look, use a mix of wood types and sizes for the tabletop.
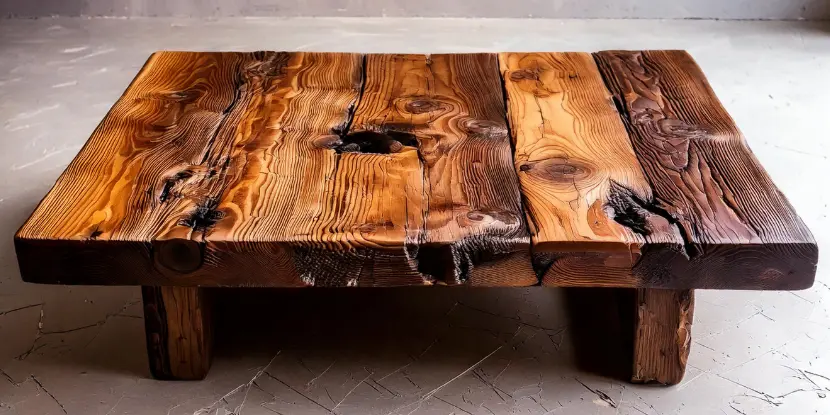
Who can resist this coffee table made from reclaimed planks?
3. Wooden Wall Art
Turn reclaimed wood into a stunning wall decor without spending a fortune. Try a geometric pattern, or go nuts with painted designs.
Popular Ideas
- Chevron or herringbone patterns
- Abstract mosaic-style designs
- Stenciled typography (like quotes or family names)
Estimated Cost
$10–$20
Pro Tip
Mix wood pieces in various colors and finishes for a modern country vibe.
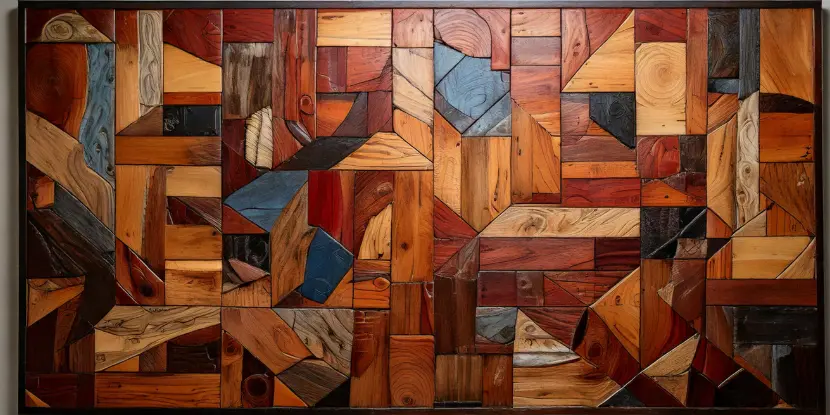
Stunning wall art made from reclaimed boards.
4. Reclaimed Wood Picture Frames
These are cheap and loaded with charm!
Materials Needed
- Narrow wood strips or baseboards
- Frame corners or L-brackets
- Acrylic sheet for front protection (if needed)
Steps to Build
- Cut four pieces of wood in desired frame size.
- Glue and screw the corners or use L-brackets for added strength.
- Insert a plexiglass sheet if opting for a cleaner look.
- Sand and finish as desired.
Estimated Cost
$10–$15 (per frame)
Pro Tip
Frames can be rustic or modern, depending on your choice of hardware and finish.

A simple picture frame made out of reclaimed wood planks.
5. Barn Wood Headboard
A barn wood headboard gives a bedroom instant personality, whether you opt for a simple design or go all out with intricate patterns.
Steps to Build
- Cut the wood to frame size.
- Sand, then glue or screw the pieces together.
Estimated Cost
$5–$15 per frame
Pro Tip
Want extra coziness? Add string lights or LED strips for a dreamy effect.
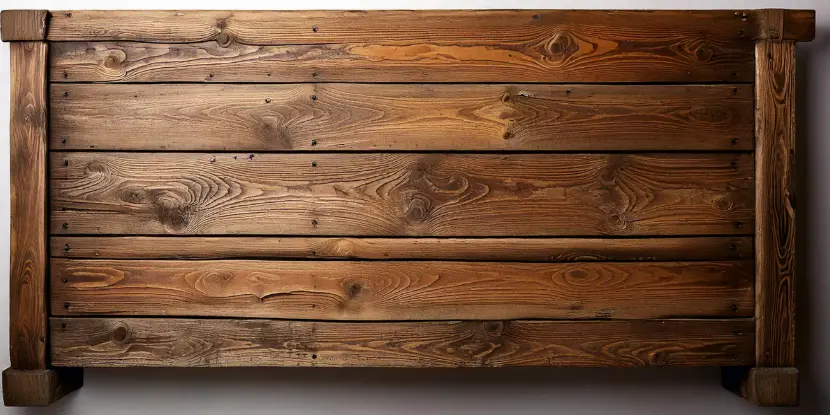
A headboard made from reclaimed wood.
6. DIY Reclaimed Wood Bench
A bench is an easy and practical furniture piece requiring minimal effort.
Materials Needed
- Reclaimed wood boards
- Lumber for legs and supports
Steps to Build
- Cut reclaimed wood pieces into several uniform lengths (for the seat).
- Cut leg lumber.
- Drill pilot holes where the legs will attach to the top.
- Use screws to fasten the legs to the top.
- Support the bench under the seat for added stability (optional).
- Sand and finish as desired.
Estimated Cost
$25–$50 (depending on additional hardware)
Pro Tip
For a more finished look, add cushioning to the seat or use a wood sealer to protect it against wear and tear.
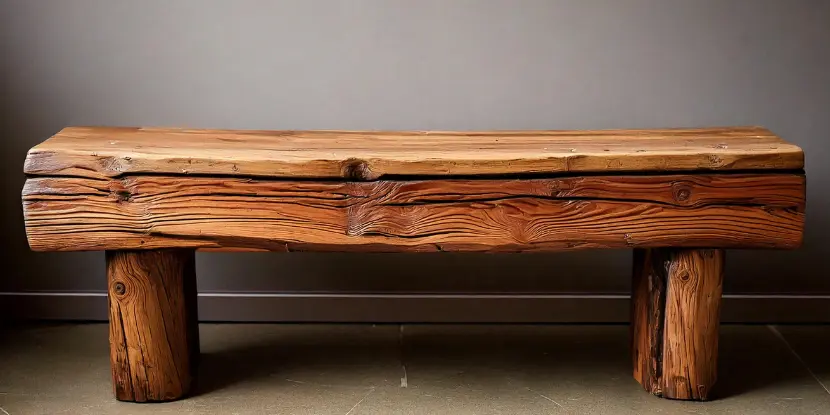
This reclaimed wood bench is sturdy, beautiful and comfortable.
7. Pallet Wood Planter Boxes
This beginner-friendly project adds a touch of greenery to your home. You can customize the size and design however you like.
Materials Needed
- Pallet wood planks
- Small nails or wood screws
- Waterproof lining (optional)
Steps to Build
- Take apart a pallet and cut the wood pieces to the desired lengths.
- Nail or screw pieces together in desired shape (square, rectangular, etc.)
- Optional: line the inside with waterproof material before filling it with soil.
- Add plants or herbs, and enjoy!
Estimated Cost
$5–$10
Pro Tip
Attach brass hooks on the back of larger boxes for easy wall mounting.
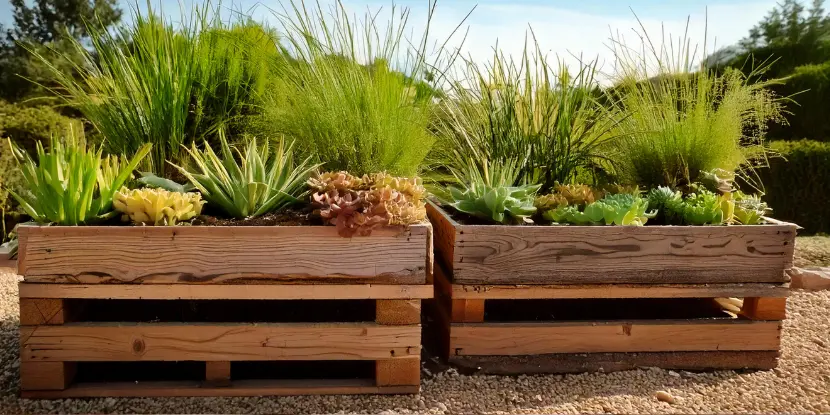
Don’t pitch those pallets! Try making planters instead.
8. Wooden Serving Tray
A stylish reclaimed wood serving tray makes a thoughtful, handmade gift, or use it to showcase your culinary creations!
Materials Needed
- Scrap wood pieces
- Wood glue or screws
- Handles (optional)
Steps to Build
- Measure and cut the desired size for the tray base.
- Cut several narrower strips for the sides.
- Assemble by gluing or screwing sides to the base.
- Sand and finish.
- Attach handles (optional).
Estimated Cost
$5–$20
Pro Tip
Combine different types of wood for a two-tone effect, or personalize with stenciled designs.
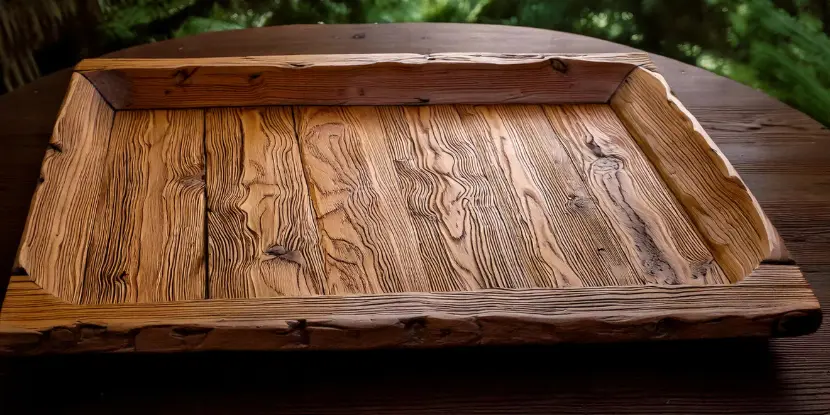
A reclaimed wood serving tray can make those refreshments look all the more inviting.
9. Reclaimed Wood Wine Rack
What better way to celebrate your DIY success than with a bottle of wine from a one-of-a-kind wine rack?
Materials Needed
- Reclaimed wood boards
- Screws or nails
- Wood glue (optional)
Steps to Build
- Measure and cut the desired length for the rack.
- Cut narrow strips of wood for the dividers.
- Assemble by attaching dividers to a base piece, leaving enough space between them for wine bottles.
- Reinforce with screws or nails, or use wood glue for added stability.
- Sand and finish.
Estimated Cost
$10–$20
Pro Tip
Leave visible knots and imperfections in the wood for a more rustic look. Sand down any rough edges before finishing to make the wood cleaner.
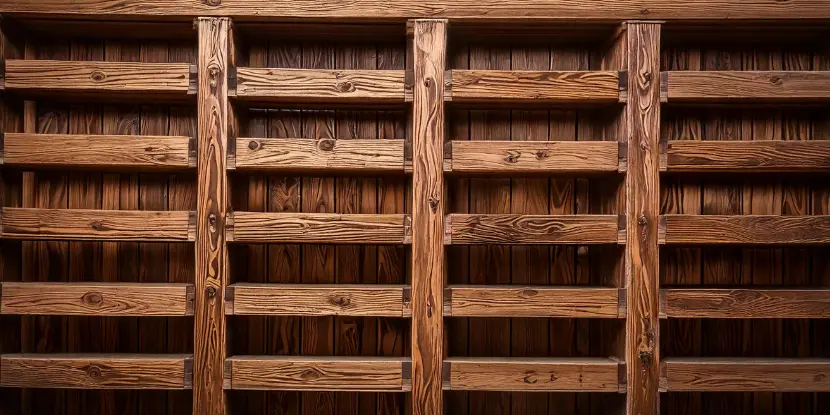
A sturdy wine rack built from reclaimed lumber.
10. Pallet Wood Coasters
Materials Needed
- Pallet wood pieces (cut into desired size)
- Sandpaper
- Wood stain or paint
Steps to Build:
- Cut pallet wood into small squares or circles.
- Sand edges and surfaces until smooth.
- Stain or paint each coaster in a different color for greater variety.
Estimated Cost
$5–$10
Pro Tip
Add felt pads to the bottom of the coasters to prevent scratches on furniture.
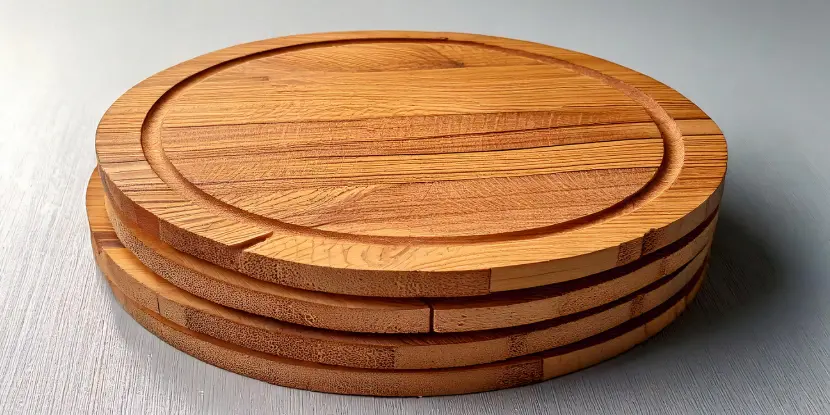
Coasters made from wooden pallets.
FAQs: Home Decor Ideas with Reclaimed Wood
Q: Where can I find reclaimed wood?
You can find it at salvage yards, thrift stores, or websites like Craigslist. Another option is to ask local contractors if they have any leftover materials from projects.
Q: Can I use any reclaimed wood for these projects?
Yes, if it’s safe and sturdy enough for the project. Different types of wood may have different finishes and colors, so consider how they’ll look together before starting a project.
Q: Should I treat or seal the wood before using it?
It depends on your personal preference and the condition of the wood. If it’s weathered or has rough edges, sanding and sealing it can give it a cleaner and smoother finish. However, some people prefer to keep the natural look of reclaimed wood without any treatment.
Q: How do I clean reclaimed wood before using it?
Start by brushing off dirt or debris, then apply a mixture of soap and warm water. For tougher grime, use a wood-safe cleaner or lightly sand the surface.
Q: Can I paint reclaimed wood?
Yes, if the surface is cleaned and sanded first. Use a primer for better adherence, especially on weathered wood.
Q: What tools are essential for these projects?
Basic tools like a saw, hammer, screwdriver, measuring tape, and sander are sufficient for most DIY projects involving reclaimed wood. A drill is also helpful.
Q: Are there alternatives to using nails or screws?
Wood glue or dowels can give it a cleaner look, depending on the project. For furniture, use strong adhesives and reinforcements.

