Staining protects wood’s natural beauty. It highlights the grain, adds depth, and shields the material from sunlight, moisture, and wear. Your choice of wood stain and the quality of your application can dramatically alter the look and feel of the finished piece.
A poorly executed stain job can be blotchy, uneven, or worse — it can ruin your project altogether. The proper technique will help you avoid these pitfalls.
Types of Stains: Your Choices
Oil-Based Stains
- High solids
- Slow drying time
- Easy to apply with a brush or rag
- Requires good ventilation during application and drying
Oil-based stains offer durability and rich color. They penetrate deeply into the wood, enhancing the natural grain and providing a smooth, even finish. Their slow drying time allows a more controlled application.
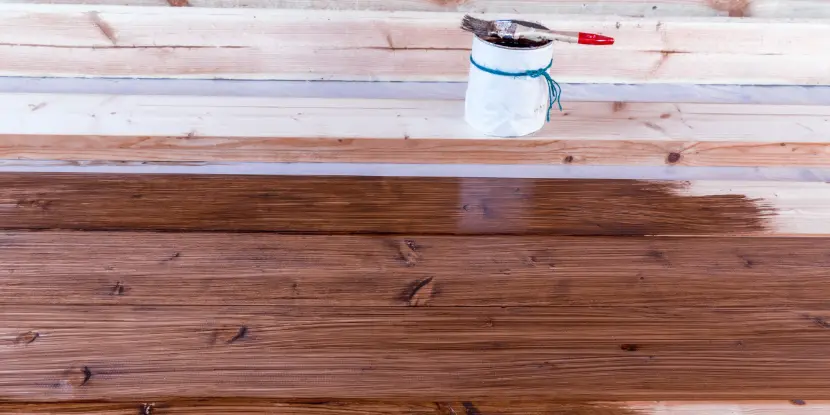
Stained wood vs. unstained: the untreated wood is so “meh!”
Water-Based Stains
- Low/no VOCs (volatile organic compounds)
- Fast drying time; re-coat in 30 minutes
- Cleanup with soap and water; no strong odor
Water-based stains are eco-friendly and easy to clean. They emit little to no harmful VOCs, making them safer for indoor use. Their fast drying time enables multiple coats in a shorter period, and they’re less likely to darken or change color over time.
Gel Stains
- Can be used on vertical surfaces without dripping
- Brush or wipe on; thickness allows more control over color saturation
- Uniform coverage
- Highlights grain
Gel stains have the same base as oil-based stains but are thicker. You apply them like paint, using a brush, roller, or sprayer. They’re the best choice for heavily grained woods like oak, ash, or mahogany.
Lacquer-Based Stains
- Add color and a protective finish in one step
- Dry quickly, have low odor, and are durable against wear and tear
Lacquer-based stains combine stain and finish. They’re ideal for woods that tend to blotch, as the lacquer component reduces uneven coloring.
Dye-Based Stains
- Can produce vibrant, translucent colors
- Perfect for highly figured or exotic woods
- Require mixing with water or alcohol and pre-treatment of the wood surface
Dye-based stains produce rich, vibrant colors. They penetrate deeply into the wood and highlight the natural beauty of exotic woods.
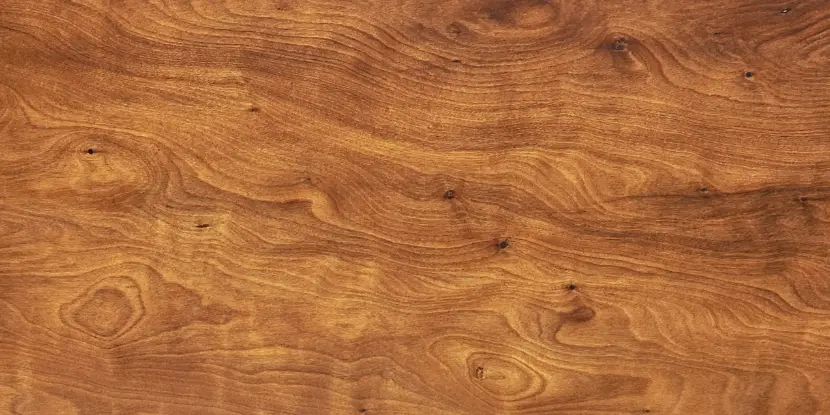
Oil-based stains penetrate natural the wood, enhancing the grain and providing a smooth, even finish.
Polyurethane Stains
- Combine stain and finish in one product
- Long-lasting protection with a glossy or satin sheen
- Easy to apply, can be brushed on or sprayed
Polyurethane stains offer both color and protection in one easy application. They dry quickly, provide long-lasting durability, and come in various finishes, such as glossy or satin.
Pre-Stain Conditioners
- Help prevent blotching and uneven coloring
- Penetrate wood to seal the surface before staining
- Recommended for softwoods like pine, cherry, or maple
Pre-stain conditioners prevent uneven coloring of porous wood. They penetrate the wood to seal the surface, creating a more even base for the stain.
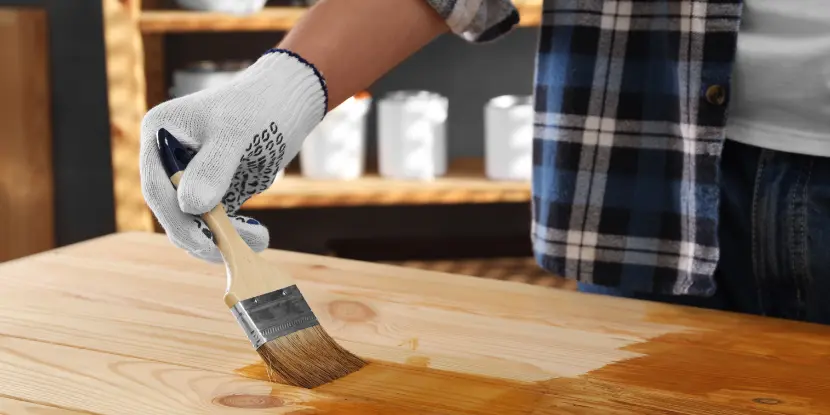
Use a brush or roller to apply stain to broad, flat areas like tabletops.
Tools & Supplies
Materials
- Wood stain of your choice (oil-based, water-based, or gel)
- Clean rags or foam brushes
- Sandpaper (150-grit and 220-grit)
- Optional: wood conditioner for blotch-prone woods like pine, cherry, etc.H
Tools
- Safety goggles and gloves
- Tack cloth or lint-free cloth
- Paintbrushes (if not using foam brushes)
- Stir stick to mix stain
- Sanding block or orbital sander
- Drop cloth or plastic sheeting to protect the workspace
Steps for a Professional Finish
1. Prepare the Wood
Sand Your Wood
- Start with coarse grit sandpaper (80) to remove old finishes, scratches, or imperfections.
- Work up to a finer grit (220) for a smooth surface.
- Always sand in the direction of the wood grain to prevent scratch marks.
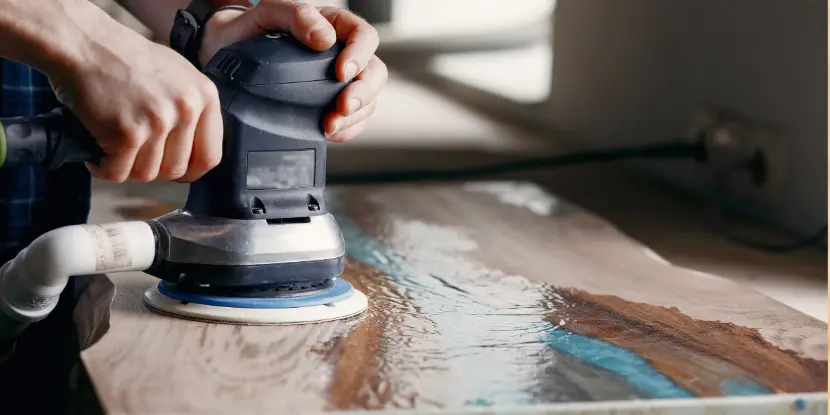
Always sand or remove old staining before applying new coats.
Clean the Surface
- Use a tack or damp microfiber cloth to thoroughly clean the wood after sanding.
- Avoid using water-heavy products — they may raise the wood grain and make the surface uneven.
Apply a Pre-Stain Conditioner
- A pre-stain conditioner helps the stain glide on smoothly and prevents blotches.
- Brush it on, wait 5–15 minutes (per the product’s instructions), and wipe off any excess.
2. Apply the Stain
Choose Your Technique
- Brushing: Apply using smooth, long strokes. Avoid overlapping. Great for water-based stains.
- Wiping: Use a lint-free rag to rub the stain into the wood. Better control, especially for oil-based stains.
- Spraying: Ideal for larger projects or intricate details where brushes might leave streaks.
Pro Tip: Always test the stain on an off-cut or inconspicuous area before applying it to your piece. A stain’s appearance may differ on various wood types.
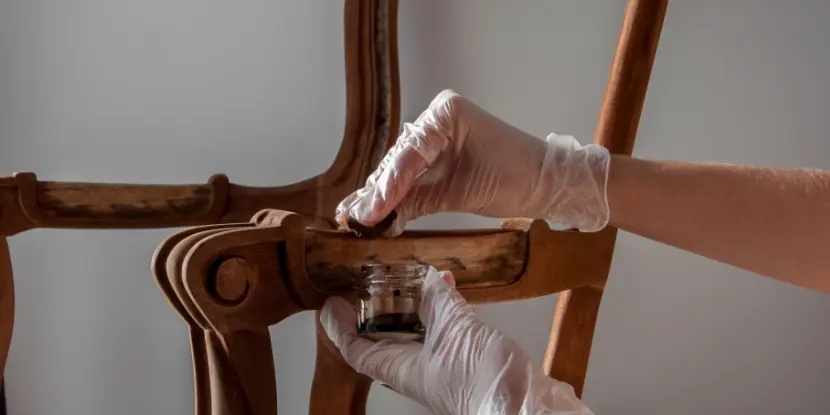
Use a lint-free cloth to stain small areas or furniture with intricate details.
Work Evenly
- Apply the stain in manageable sections (e.g., one plank at a time).
- Wipe off the excess stain with a clean rag after 5–10 minutes for richer color. Skip this step for subtle or lighter finishes.
Layer as Needed
- For a darker hue, apply multiple coats.
- Allow each layer to dry thoroughly (typically 24–48 hours) before adding the next. Rushing this will lead to uneven coloring or poor adhesion.
3. Add the Protective Finish
Why Seal Your Stain?
Stain by itself doesn’t offer long-term protection. You’ll need a topcoat to boost durability and lock in your work.
Options Include:
- Polyurethane: Available in gloss, semi-gloss, and matte sheens. Best for heavy-use surfaces like tables or floors.
- Lacquer: Provides a high-gloss finish but requires spray application.
- Wax: Offers a soft, natural look for smaller, low-use projects.
Apply the finish using a clean brush, foam applicator, or lint-free cloth. Wait for it to dry completely before use.
Always dispose of rags properly. Oil-soaked rags can spontaneously combust.
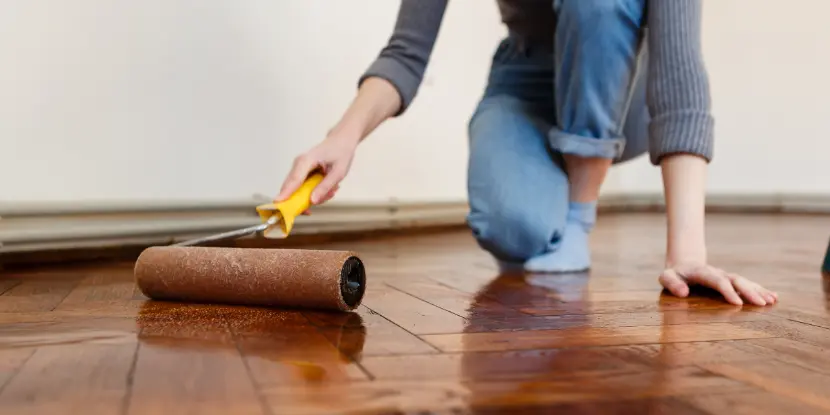
Use a paint roller or broad brush to apply stain to large areas like floors or decks.
Advanced Techniques
After you’ve mastered the basics, try these techniques to elevate your projects:
1. Two-Tone Staining
Layer a darker stain over a lighter base coat for added depth. Sand lightly between coats to blend the shades seamlessly.
2. Distressed or Weathered Look
Use a wire brush to roughen the surface or add “wear” before staining for a rustic, aged appearance.
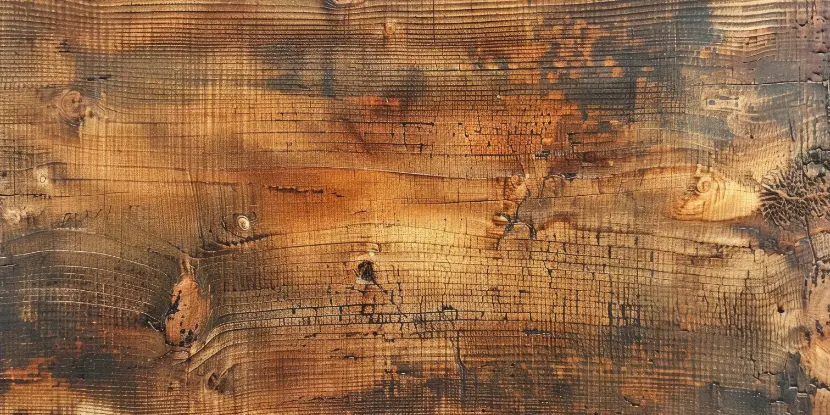
Staining provides a superb finish for aged or distressed wood.
3. Taping Techniques
Experiment with painters’ tape to create clean lines or patterns.
4. Custom Blends
Mix stains to create unique, custom tones that align with your vision.
Common Staining Mistakes & How to Avoid Them
- Skipping sanding leads to rough surfaces and uneven stain absorption.
- Skipping pre-stain conditioner on softwoods results in blotchy finishes.
- Overloading the stain: Start with a thin coat and build as needed.
- Overlapping brush strokes: Work with continuous strokes along the grain to prevent streaks.
FAQs: Wood Staining Techniques
Q: How can I lighten the color of my stain?
Switch to a lighter shade, or try sanding off some layers and re-staining.
Q: Can I stain over an existing finish?
Yes, but you’ll need to sand the surface thoroughly to remove the old finish or use a chemical deglosser before applying the new stain. Without surface preparation, the stain may not adhere.
Q: How do I make the stain color more vibrant?
Use a dye-based stain or a pre-stain conditioner to enhance color absorption. Apply multiple thin layers of stain, rather than one thick coat, to build a richer hue.
Q: Can I mix different stain types?
Yes, if they’re the same type (e.g., two oil-based or two water-based stains). Avoid mixing different types. They may have incompatible bases and result in inconsistent finishes.
Q: How long should I wait between coats of stain?
Typically, you should wait 24–48 hours between coats to ensure the stain is dry. Always refer to the manufacturer’s instructions for your product’s drying time.
Q: Should I sand between coats of stain?
You don’t need to sand between coats of stain. However, if you’re applying a topcoat or if the surface feels rough after staining, a light sanding with fine-grit sandpaper (220+) can smooth it.
Q: How do I remove excess stain if I’ve applied too much?
If the stain hasn’t dried, wipe it off with a clean, lint-free rag. For dried excess stain, lightly sand the area or use a solvent such as mineral spirits (for oil-based stains) to remove it carefully.
Q: What’s the best way to clean brushes or rags used for staining?
For oil-based stains, clean tools with mineral spirits or paint thinner. For water-based stains, warm soapy water should suffice.

