Bell peppers originated in the tropical and subtropical Americas. Columbus introduced them to Europe in 1493.
Plant diversification occurred primarily in Mexico, the Caribbean, and Central America, where peppers flavored dishes, preserved food, and treated various ailments, including toothaches.
Today, your dentist no longer recommends peppers for toothaches, but they’re an essential ingredient in many cuisines worldwide.
Bell peppers are rich in vitamin C, antioxidants, and beta-carotene. They’re naturally low in sugar and calories and grow extraordinarily well in Southern California’s mild climate.
Choosing the Right Variety
Bell peppers come in a spectrum of colors and flavors. There’s no one-size-fits-all — each variety has its own distinctive color and flavor profile.
- Red bell peppers are the ripest form of green peppers. They have a sweeter and fruitier taste than their unripe counterparts.
- Green bell peppers are harvested before they fully ripen, producing a more bitter and herbaceous flavor.
- Yellow bell peppers are sweet and tangy, similar to their orange cousins.
- Orange bell peppers are a hybrid of red and yellow peppers with a slightly milder taste.
- Purple bell peppers are uncommon in grocery stores but have a more complex and fruity taste.
- White bell peppers are a rare variety with a mild and slightly sweet taste.
- Chocolate bell peppers are rich and earthy, perfect for savory dishes.
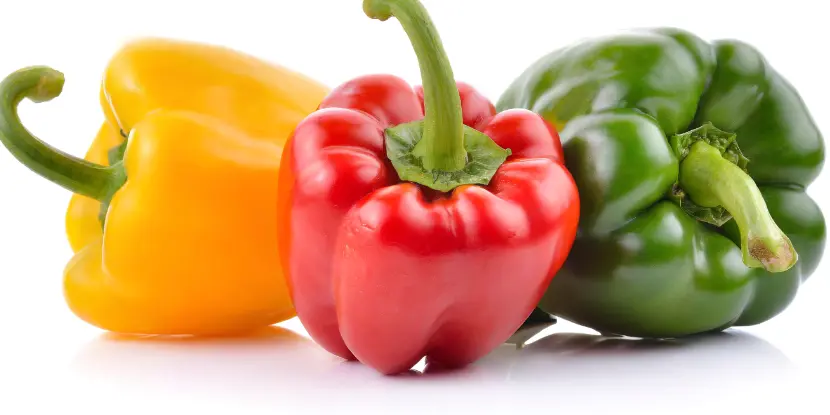
Red, yellow, and green bell peppers.
The best varieties for Southern California’s growing conditions include:
- California Wonder: An adaptable pepper with high yields, the California Wonder grows like a champ in the Los Angeles Basin.
- Red Beauty: Prized for its sweet flavor and deep red color, it thrives in balmy weather.
- Orange Sun: These peppers are sweet and juicy with excellent growth performance.
When to Plant in Southern California
- January to March: Sow seeds indoors in seed trays or containers.
- March to May: Transplant seedlings into the garden or containers.
- May to August: Harvest peppers from mid-May until the first frost in the fall.
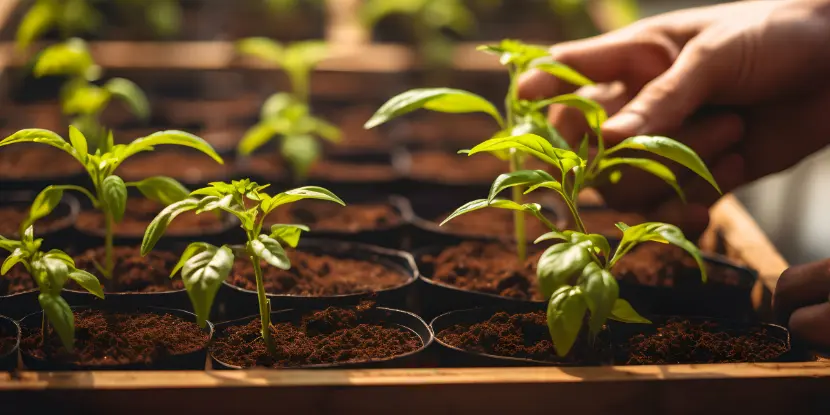
Young bell pepper plants in containers.
Starting Your Bell Pepper Plants
Germinate the seeds indoors 6-8 weeks before transplanting them outside.
- Choose a high-quality potting mix or seed-starting soil.
- Sow two seeds in each cell of a seed tray, about 1/4 inch deep.
- Cover the seeds with a light layer of potting mix and water them gently.
- Place the tray in a warm, sunny spot and keep the soil moist.
Transplanting Your Bell Pepper Plants
Transplant seedlings into the garden when they’re four inches tall and have two sets of true leaves.
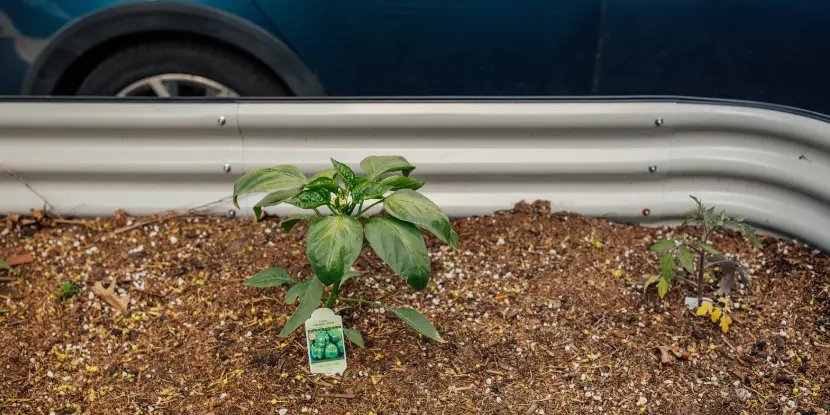
A newly transplanted bell pepper seedling.
Location & Sunlight
- Choose a spot in your garden that receives at least 6–8 hours of direct sun daily. Bell peppers prefer warm, sunny conditions.
- Plan for adequate spacing between each plant — about 18–24 inches apart.
Soil Preparation
- Make sure the soil has good drainage and is rich in organic matter. A pH level between 6.0 and 6.8 is ideal for bell pepper growth.
- If necessary, amend the soil with compost or well-rotted manure to improve fertility and structure.
- Loosen the soil to about 12 inches to encourage root development.
The Planting Process
- Before transplanting, gradually acclimate your seedlings to outdoor conditions. Place them outside for a few hours daily for a week.
- Dig holes slightly larger than the root ball of each seedling.
- Place each seedling into the hole so that the top of the root ball is level with the soil surface.
- Backfill the hole with soil and gently firm it around the base of the plant to eliminate air pockets.
- Water the transplanted seedlings thoroughly to help establish roots in their new location.
- Apply a layer of mulch around the plants to retain soil moisture and prevent weeds.
- Add stakes or cages to support the plants as they grow and bear fruit.
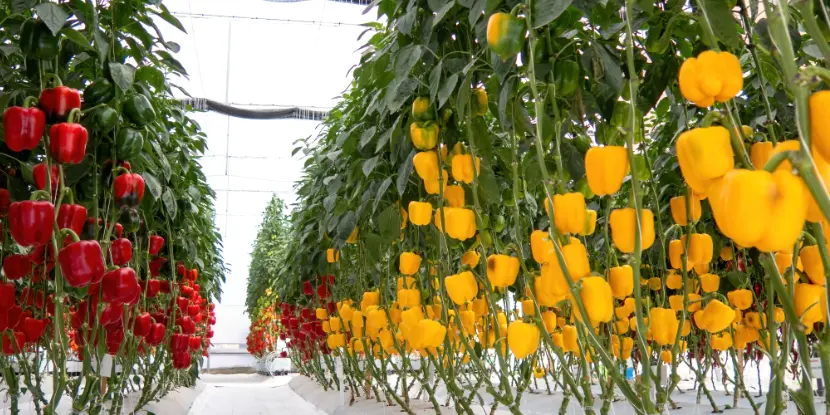
Red and yellow bell peppers growing in a greenhouse.
Caring for Your Bell Pepper Plants
Watering
- Bell peppers require consistently moist soil. Water your plants deeply without without saturating the soil.
- Overwatering can cause root rot and other issues. Water thoroughly but infrequently, allowing the top inch of soil to dry out between waterings.
- Water your plants in the morning to reduce the risk of fungal diseases and allow foliage to dry before evening.
Fertilizing
- Apply a balanced fertilizer (e.g., 10-10-10) or a slightly higher phosphorus content to encourage root and fruit development.
- Fertilize at planting time and every three to four weeks during the growing season.
- Too much nitrogen leads to lush foliage but poor fruit production. Follow package instructions for fertilizer amounts.
Mulching
- Apply a layer of organic mulch, such as straw or wood chips, around the base of the plants to retain moisture, control weeds, and regulate soil temperature.
- Replenish mulch as needed throughout the growing season.
Pruning & Support
- Trim the lower leaves and any suckers that develop in the crotches of branches to improve air circulation and reduce disease risk.
- Support the plants with stakes or cages, especially as they begin to bear heavy fruit. This prevents branches from breaking and improves plant health.
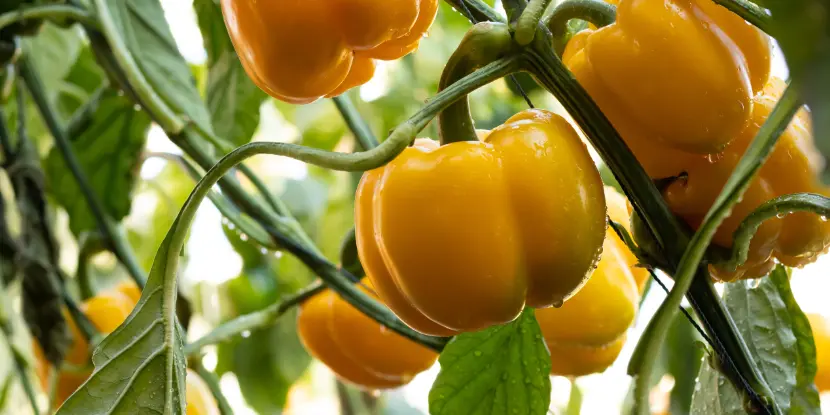
Ripe yellow peppers ready for harvest.
Pest Management
- Aphids: Spray with a strong stream of water or use insecticidal soap to control aphids.
- Cutworms: Place collars around the base of seedlings to protect them from cutworms.
- Spider Mites: Maintain proper watering and humidity levels. If infestations occur, apply horticultural oil or insecticidal soap.
- Whiteflies: Use yellow sticky traps to monitor and control whitefly populations.
Disease Management
- Proper Spacing: Space plants adequately for good air circulation, which reduces the risk of fungal diseases.
- Rotate Crops: To minimize soil-borne diseases, avoid planting bell peppers in the same spot where other nightshades (e.g., tomatoes and eggplants) have grown in the past two years.
- Remove Infected Plants: Promptly dispose of plants showing signs of disease to inhibit the spread to healthy plants.
- Fungicides: To combat persistent fungal issues, use fungicides as a last resort, following the manufacturer’s instructions.
Harvesting Bell Peppers
How many pickled peppers did Peter Piper pick?
None from your garden, we hope, where the peppers have already been harvested long before fermentation begins.
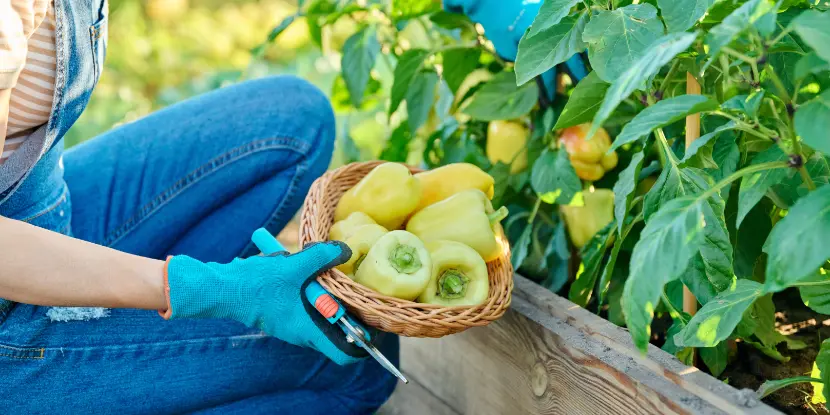
Yellow bell peppers harvested from a raised garden.
Here’s how to pick and store your bell peppers for optimal flavor:
- Bell peppers are ready for harvest when they reach their full size and exhibit a vibrant color specific to their variety (red, yellow, orange, or green if harvesting early).
- Use a clean, sharp pair of scissors or pruning shears to avoid damaging the plant or spreading disease.
- Cut the pepper from the plant with about 1/2 inch of stem attached. Avoid pulling the peppers loose, which can harm the plant.
- Check plants every few days during harvest, as peppers will continue to mature.
- Store freshly picked bell peppers in a cool, humid environment, ideally in the vegetable crisper drawer of your refrigerator. They can last up to two weeks when stored at 45-50°F.
- If you have an abundance of harvested peppers, consider freezing, canning, or drying them to enjoy them year-round.
FAQs: How to Grow Bell Peppers
Q: How much sunlight do bell peppers need?
Provide them with at least 6–8 hours of direct sunlight daily for optimal growth and fruit production.
Q: Can bell peppers grow in pots?
Yes, provided they receive adequate sunlight, water, and nutrients. Choose large containers with good drainage and use a well-balanced potting mix.
Q: How often should I fertilize bell peppers?
Fertilize bell peppers every 3–4 weeks during the growing season with a balanced organic fertilizer.
Q: When is the best time to harvest bell peppers?
Bell peppers can be harvested when they reach their mature color—green, yellow, orange, or red—depending on the variety. Wait until the peppers are firm and fully colored for the best flavor and texture.
Q: Can I grow bell peppers indoors?
While bell peppers prefer outdoor growing conditions with plenty of sunlight, they can be grown indoors in containers near a sunny window or under grow lights.
Q: How can I prevent common pests from attacking my bell pepper plants?
Regularly inspect your plants, install row covers, and encourage beneficial insects like ladybugs. If infestations are severe, apply organic insecticides like neem oil.
Q: What are the signs of overwatering bell peppers?
Signs of overwatering include yellowing leaves, wilting despite wet soil, and root rot. Ensure proper drainage and adjust your watering schedule to allow the top inch of soil to dry out between waterings.
Q: Can I grow bell peppers from seeds saved from store-bought peppers?
It’s possible, but be aware that these peppers are often hybrids, and their seeds may not produce plants identical to the parent fruit. It’s safer to purchase seeds from a reputable supplier.
Q: What should I do if my bell peppers develop blossom end rot?
Blossom end rot is usually caused by calcium deficiency or inconsistent watering. Ensure your plants are watered evenly, and add calcium to the soil using crushed eggshells or a commercial calcium supplement.
Q: How do I know if my bell peppers have a nutrient deficiency?
Common signs of nutrient deficiencies include yellowing leaves, stunted growth, and poor fruit development. Regularly test your soil and amend it with balanced fertilizers, compost, or nutrients if necessary.

