Water damage can compromise your home’s structural integrity, promote mold growth, and lead to expensive repairs.
Small leaks in your roof may manifest as dark spots on your ceiling, bulging paint or drywall, or water stains. They never go away on their own unless you have elves who fix things at night.
You’ll have to act fast to prevent further damage.
So you can:
- Call the handy person you keep on speed dial.
- Call a reputable roofing company and hope they’re not completely booked.
- Climb a ladder and do some roofing sleuthing. With DIY know-how and a few basic tools, you may be able to fix minor leaks.
How Long Does a Roof Last?
Asphalt Shingles
Average lifespan: 20–30 years.
Replace rather than patch if the shingles are curling, cracking, or missing granules or if the roof is over 20 years old and has extensive damage.
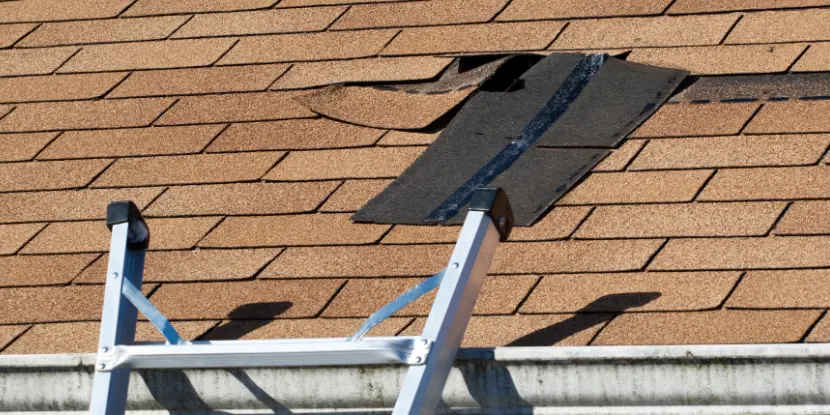
An asphalt roof with damaged tiles.
Metal Roofs
Average lifespan: 40–70 years.
Replace instead of patching if there is widespread rust, severe corrosion, or significant structural damage.
Clay or Concrete Tiles
Average lifespan: 50–100 years.
Replace when multiple tiles are cracked, broken, or missing, particularly in load-bearing areas.
Wood Shingles or Shakes
Average lifespan: 25–30 years.
Replace instead of patching if the roof has extensive rot, warping, or is over 25 years old and deteriorating.
Slate Roofs
Average lifespan: 75–200 years.
Consider replacement if the slate shows signs of flaking, crumbling, or significant support system failure.
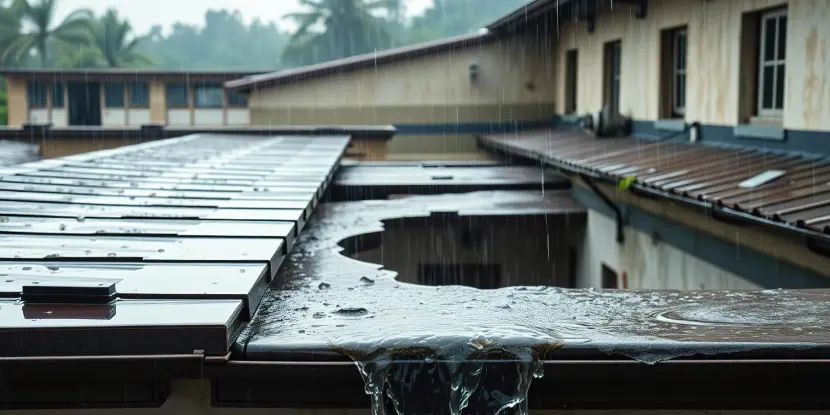
Pooled water is a recipe for leaks and water damage.
Flat Roofs (EPDM, TPO, PVC)
Average lifespan: 10–20 years.
Replace if there are large areas of pooling water, severe membrane damage, or the roof is nearing the end of its lifespan.
Tools & Materials You’ll Need for DIY Repair
Safety Gear
- Sturdy ladder
- Non-slip shoes
- Gloves
- Safety harness
Basic Tools
- Roofing nails
- Pry bar or roofing claw
- Hammer
Materials
- Roofing sealant or caulk
- Roofing patch or fabric
- Replacement shingles (if needed)
- Roofing tar
- Flashing (optional for certain repairs)
Diagnostic Aids
- Hose for water testing
- Bucket
- Flashlight
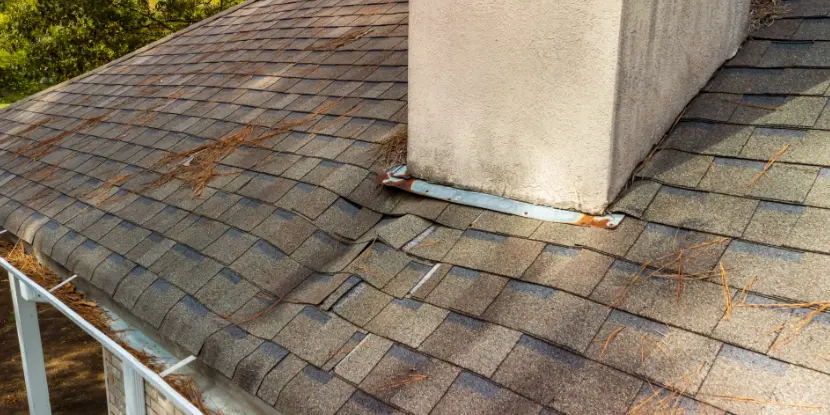
An asphalt roof with structural damage.
Identifying the Leak’s Source
The source of the leak may not align with the water dripping into your home. Follow these steps to pinpoint the problem:
1. Check the interior
- Look for water spots or stains on ceilings and walls.
- Use a flashlight to inspect your attic for damp insulation or visible drips during or after rain.
2. Examine the roof’s exterior
- Climb onto your roof and scan for cracked or missing shingles, damaged flashing, or debris blocking drainage.
- Inspect areas around chimneys, vents, or skylights — they’re common leaking culprits.
3. Perform a water test
- Enlist a helper to stay inside while you gently spray water over different sections of your roof. Move systematically across the roof to locate the leak.
Once you’ve identified the issue, it’s time for repairs.

Clogged gutters are a common cause of leaks, as the roof can’t drain properly.
How to Fix Small Roof Leaks
1. Repair cracked or missing shingles
Remove the old shingle
- Use a pry bar to lift the edges of surrounding shingles.
- Remove nails from the damaged shingle and slide it out.
Replace with a new shingle
- Slide the new shingle into place.
- Secure it with nails and apply a small amount of roofing sealant to the nail heads.
2. Seal small holes or cracks
- Remove debris and dry the surface around the leak.
- Use a caulk gun to apply the sealant over the crack or hole. Smooth it out so it completely covers the damaged area.
3. Patch larger holes
If there’s a tear or larger hole in your roof:
- Cut a piece of roofing fabric or patch slightly larger than the hole.
- Use roofing tar to adhere the patch over the hole, pressing it firmly into place.
- Apply roofing tar around the patch’s edges to ensure a watertight seal.
4. Fix flashing around vents, chimneys, or skylights
Leaking often occurs where the roof meets other structures.
- Look for rusted, bent, or detached flashing.
- Remove the damaged flashing and install new flashing if needed.
- For minor gaps, apply roofing sealant to fill the space and prevent water infiltration.
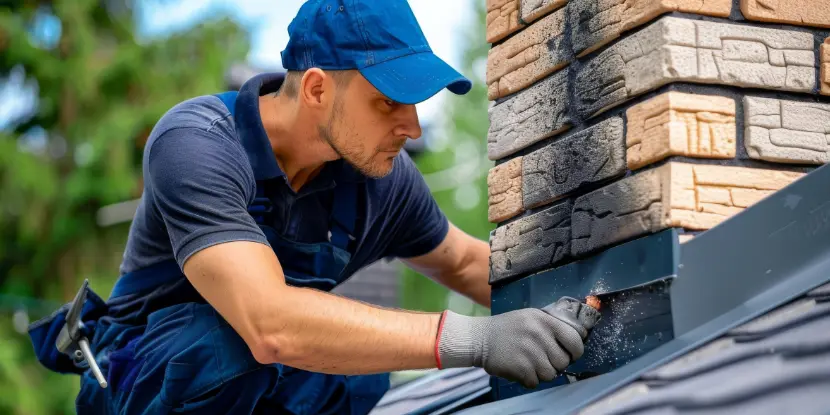
Metal flashing is a frequent source of leaks.
Covering Damage with Tarp
Covering leaks with a tarp can minimize additional water damage while you plan for permanent repairs. But this is a temporary solution at best.
- Choose a heavy-duty, waterproof tarp large enough to extend beyond the damaged area by at least 2–3 feet on all sides.
- Lay the tarp over the damaged section of the roof so that it fully covers the hole and overlaps the roof’s ridges.
- Use roofing nails or screws with washers to attach the tarp to the roof. Place fasteners along the edges, especially in windy conditions, to ensure the tarp stays in place.
- Tie or weigh down the tarp edges further with sandbags or other heavy objects for added stability. This prevents the tarp from shifting during rain or strong winds.
- Check the tarp periodically for tears or loose fastenings and make adjustments as needed until professional repairs are made.
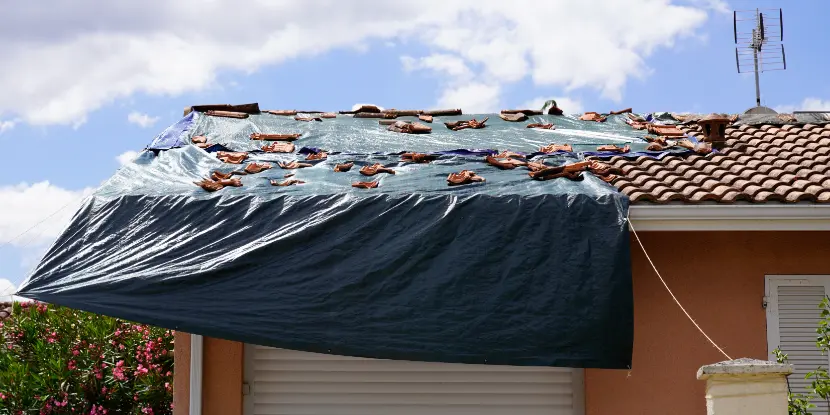
A tarp can provide temporary protection until the roof is repaired.
Tips for Staying Safe During DIY Repairs
Roof work can be hazardous, so prioritize safety at all times:
- Always use a sturdy, correctly placed ladder. Have someone hold it steady while you climb.
- Work on dry days to avoid slippery surfaces.
- Use a safety harness, especially if your roof is steep or has multiple levels.
- Stay aware of your surroundings, watching for power lines and debris.
When to Call a Professional
DIY repairs can be effective for small leaks, but some require professional expertise. Call a roofer if:
- You notice significant structural damage or sagging.
- The leak persists despite multiple repair attempts.
- Your roof is nearing its lifespan and may need replacement.
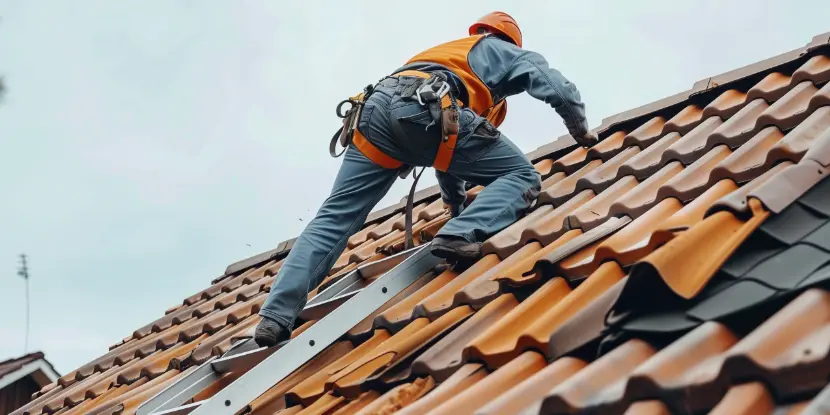
Never attempt DIY repairs on a roof with a steep pitch. Leave them to the pros.
How to Keep Your Roof in Top Condition
To catch potential issues early, regularly inspect and maintain your roof.
- Clear gutters and downspouts to ensure proper drainage.
- Remove debris, such as leaves and branches, that can trap moisture.
- Schedule annual inspections, especially after severe weather events.
- Watch for warning signs of damage, such as missing or curled shingles.
- Address any issues promptly to prevent further damage.
FAQs: Fixing a Roof DIY
Q: Can I replace just a few shingles?
It’s possible to replace individual shingles, but this can be challenging without professional training and tools. Consider hiring a roofer for more extensive repairs.
Q: What if my roof is too steep to access safely?
Don’t attempt to work on a steep roof without professional assistance. Hire a professional instead.
Q: How often should I inspect my roof?
We recommend inspecting your roof at least twice yearly, in the spring and fall. Additionally, check after severe weather events or any noticeable changes in your home’s interior.
Q: How do I know if a roof leak is an emergency?
A roof leak is an emergency if it causes rapid water infiltration, visible structural damage, or the potential for electrical hazards. If you can’t contain the leak, contact a professional immediately to prevent further damage.
Q: Can I repair a roof during winter?
Yes, but cold temperatures can make certain materials, like shingles or sealants, brittle or less effective. Whenever possible, it’s best to address small leaks with temporary fixes and schedule permanent repairs during warmer weather.
Q: What tools are necessary for spotting roof damage?
Essential tools include a flashlight for attic inspections, binoculars to examine hard-to-reach areas from a distance, and a hose for water testing. Having a camera or smartphone to document damage for future reference can also be helpful.

