Composting is one of the easiest and most environmentally friendly ways to nourish your garden. It reduces the waste you send to landfills and creates a nutrient-rich plant material.
In this guide, we’ve laid out a simple, step-by-step process for making compost at home with minimal fuss.
You’ll know how to build an open bin, what to add (and avoid), tips to speed up composting, and answers to common questions.
What Is Composting?
Composting is nature’s way of breaking down organic materials, such as food scraps and yard waste, into a rich, soil-like substance (compost) packed with nutrients. This decomposed material can enrich garden soil without harmful chemicals.
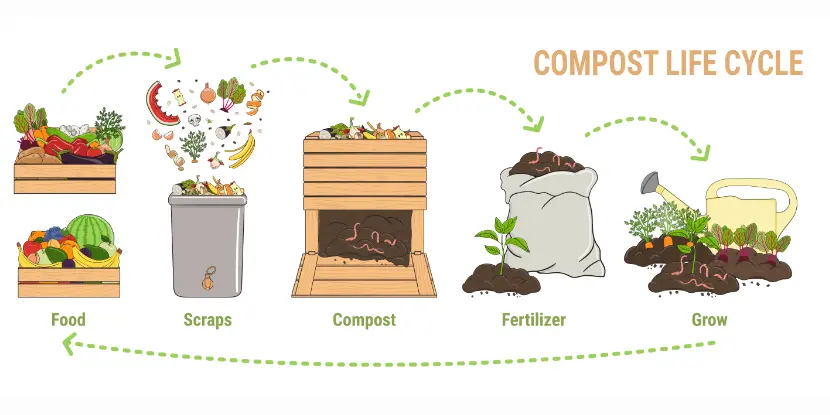
The compost life cycle from scraps to soil.
Why Compost? Benefits at a Glance
Here’s what makes composting worth your while:
- It improves soil health by enhancing structure and fertility.
- It reduces landfill waste by converting food scraps and yard waste into usable material.
- It lowers greenhouse gases, since decomposing organics in landfills release methane.
- It saves money on fertilizers and soil amendments.
Now that you’re sold on the idea, here’s how to start.
Step-by-Step Guide to Making Compost
1. Build an Open Compost Bin (Or Choose an Alternative)
An open compost bin doesn’t demand fancy equipment or tools.
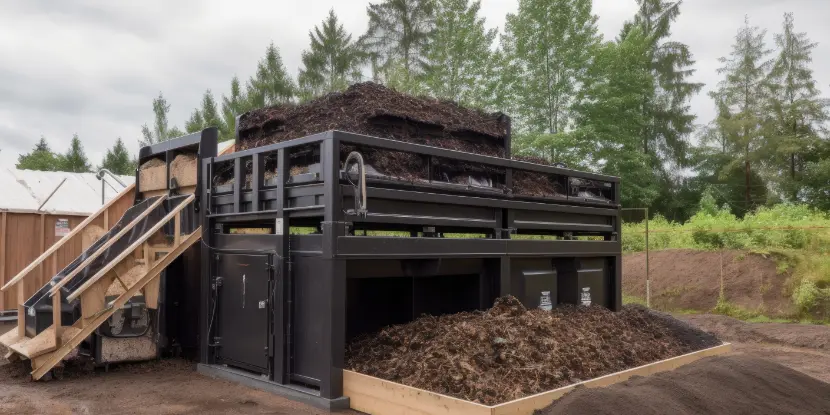
A commercial composting operation. You can start smaller than this.
Materials Needed
- Wooden planks, wire mesh, or pallets (depending on your preference)
- Hammer, nails, or zip ties for securing the structure
- A shovel or rake for mixing the pile
Steps
- Choose a suitable spot in your backyard — preferably shady and well-drained.
- Create a square or rectangular framework. Aim for a bin size of at least 3×3 feet to ensure your compost heats up efficiently.
- Leave one side open (or install a removable panel) for easy access when adding or turning compost.
If you’d rather not construct a bin, you can:
- Purchase pre-made compost tumblers for faster results.
- Start a simple pile directly on the ground.

A gardener composts kitchen and yard scraps.
2. Know What to Add to Your Compost Pile
Not all organic materials belong in your compost. Here’s what to add or avoid:
Add These (The “Greens” & “Browns”)
- Greens (for nitrogen): Fruit and vegetable scraps, coffee grounds, grass clippings.
- Browns (for carbon): Dry leaves, shredded newspaper, cardboard, straw.
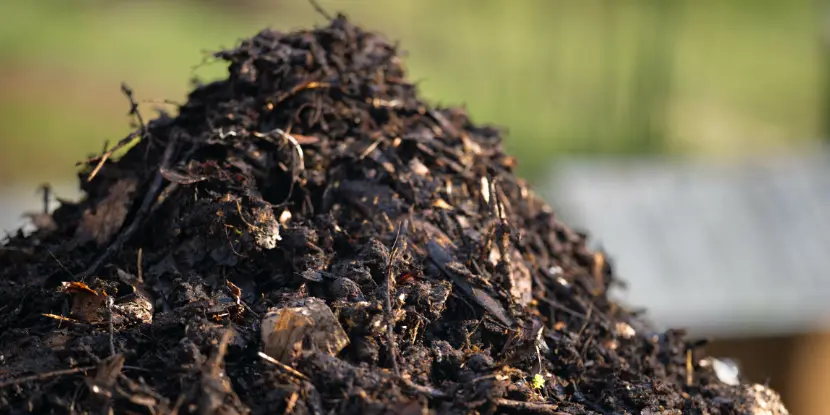
A pile of compost not quite ready to be added to the garden.
Avoid These
- Animal products like meat, bones, and dairy (they attract pests).
- Diseased plants or invasive weeds.
- Glossy paper, plastic, or chemical-treated materials.
3. Layer Your Pile
A balanced compost pile needs a good mix of greens and browns. Follow these layering tips for faster, more efficient decomposition:
- Start with a layer of coarse browns at the bottom for aeration (like twigs or straw).
- Alternate layers of greens and browns. Aim for a ratio of 1 part greens to 2-3 parts browns.
- Top with a final layer of browns to discourage odors and pests.
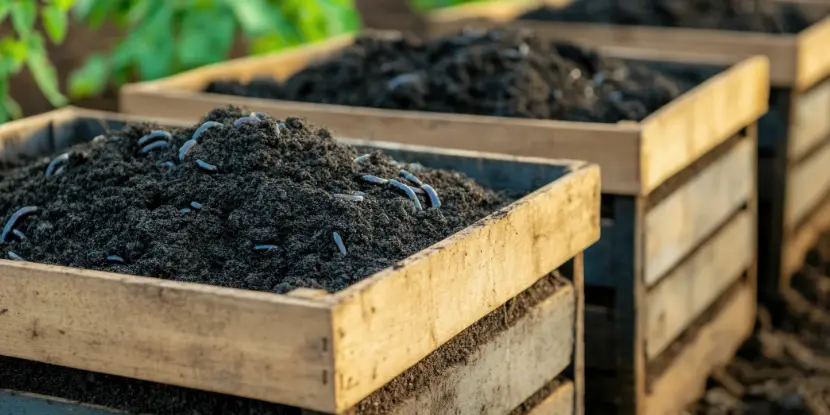
Worm composting bins with mature compost.
4. Maintain the Right Moisture Level
Your compost should feel like a damp sponge — not too dry or wet.
- If it’s too dry, add more greens or sprinkle water sparingly.
- If it’s too wet, mix in more browns to absorb moisture.
5. Turn Your Compost Regularly
Aerating your compost speeds up decomposition. Turn the pile every 2–3 weeks with a shovel or pitchfork. This mixes the materials and ensures oxygen reaches the microbes breaking everything down.
6. Accelerate the Decomposition Process
Want your compost ready faster? Try these tips:
- Chop or shred materials into smaller pieces before adding them to the pile.
- Add a commercial compost activator or sprinkle in garden soil to introduce beneficial microorganisms.
- Keep the compost pile warm by covering it with a tarp in colder months.
A pile of compost not quite ready to be added to the garden.
How to Tell Your Compost Is Ready
Your compost will be ready to use after 2–6 months (depending on the method and conditions). Finished compost should:
- Smell earthy and fresh (not rotten).
- Crumble easily, resembling dark, rich soil.
- No longer contain recognizable food scraps or materials.
Uses for Your Finished Compost
- Mix it into your garden beds before planting.
- Top-dress lawns and flower beds for added nutrients.
- Use as a soil amendment for potted plants.
- Brew “compost tea” for a nutrient-rich liquid fertilizer.
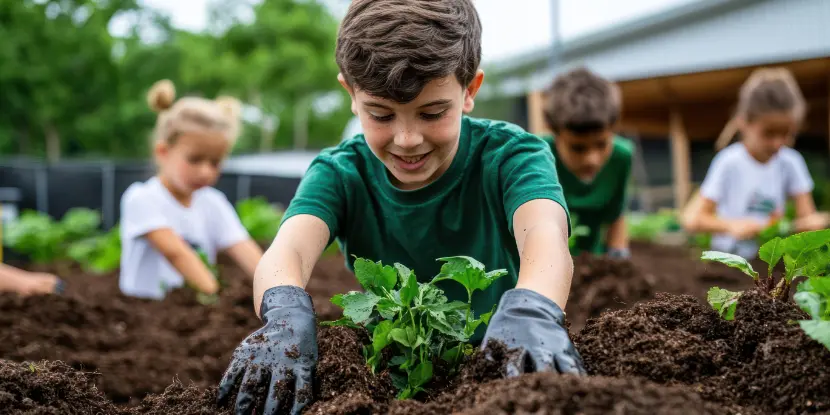
A young gardener adds compost to the plot.
FAQs: Making Compost
Q: How long does it take to make compost?
Depending on your method, composting can take 2 months to a year. Turning the pile regularly speeds things up.
Q: Do I need a lid for my compost bin?
No, but a lid or tarp can help keep your compost warm and prevent it from becoming too wet in the rain.
Q: Can I compost in winter?
Composting slows down in colder months but doesn’t stop entirely. Covering the pile helps retain heat.
Q: Why does my compost smell bad?
Odors typically mean the pile is too wet or lacks enough browns. Turn the pile and add more carbon materials (e.g., dry leaves).
Q: Can I compost meat or dairy?
No. Avoid these items in home composting, as they attract pests and cause odor issues.
Q: What about weeds?
Only add weeds that haven’t gone to seed to avoid spreading them in your garden later.
Q: Do I need worms for composting?
Not necessarily. Worms are common in vermicomposting (a specific type of composting), but regular composting relies on microbes.
Q: Can I compost cooked food?
Avoid oily or heavily seasoned cooked foods. Small amounts of plain, plant-based leftovers can be composted.