Garage floors used to be nothing more than unsightly slabs of gray concrete.
Maybe an oil stain here, a flat cardboard sheet there, the occasional dust bunny…
But thanks to developments in paint technology, you’re no longer limited to the dull and depressing prison cell look. A bucket of epoxy paint can transform your dingy garage floor into a durable and beautiful foundation for your future man cave. The high-gloss stain-resistant finish will add value to your home and expand your living space.
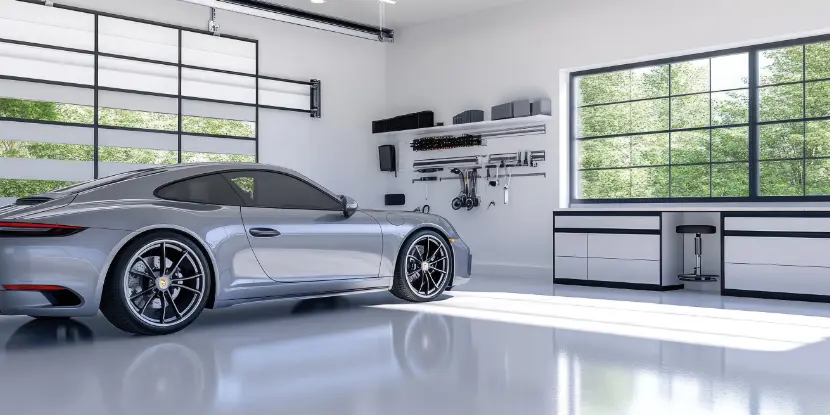
A newly painted floor gives this garage a clean and contemporary look.
Benefits of an Epoxy Paint Floor
1. Durability
Epoxy paint can withstand heavy traffic, including vehicle, machinery, and foot traffic. This makes it ideal for a high-traffic area like a garage floor.
2. Chemical Resistance
Epoxy paint resists chemicals like oil, gasoline, and other fluids that may leak from your vehicle. This means you won’t have to worry about unsightly stains or damage to your floor.
3. Easy Maintenance
With an epoxy paint floor, all it takes is a simple sweep and mop to keep it looking shiny and clean. No need for constant scrubbing or harsh cleaners.
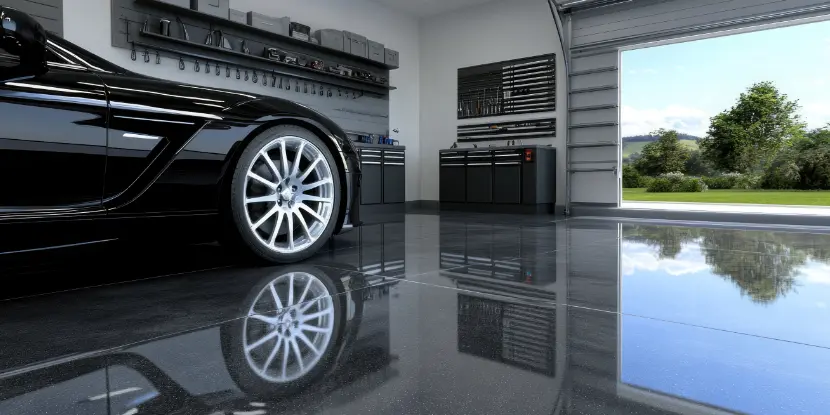
Epoxy paint can be matte, semi-gloss, or high gloss for a mirror-like finish.
4. Customizability
Epoxy paint comes in various colors and finishes to match your style and taste. You can add decorative flakes or patterns for a one-of-a-kind garage floor.
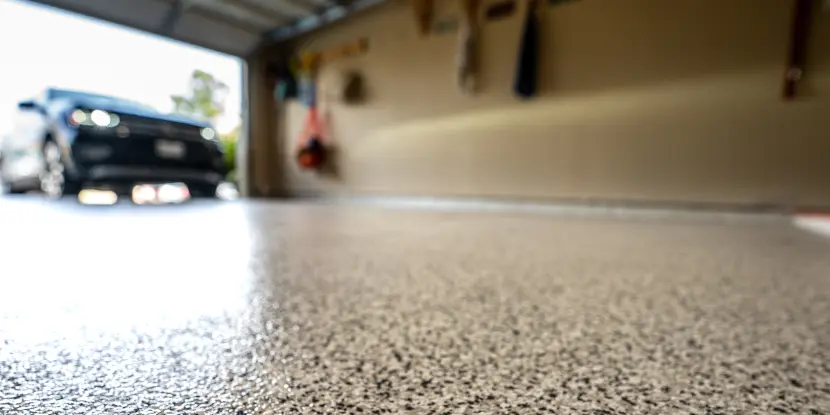
An epoxy floor with an elegant pebble finish.
5. Enhanced Safety
Non-slip additives can prevent accidents and falls while enhancing the finish.
6. Increased Home Value
Installing an epoxy floor in your garage can boost your property’s appeal and market value. It reflects well on the maintenance of your home and can be an attractive feature for potential buyers.
Steps for Painting a Garage Floor with Epoxy Paint
1. Prepare the Surface
- Clean the floor with a degreaser to eliminate oil stains, grime, and dirt.
- Use a concrete etching solution to create a texture that helps the epoxy adhere.
- Fill in cracks or chips with a concrete patching compound.
Tip: Use a pressure washer for deep cleaning, and ensure the floor dries completely before proceeding.
2. Choose the Right Epoxy Kit
- Choose a high-quality epoxy paint kit designed specifically for garage floors.
- Look for high solids content and UV resistance to prevent yellowing over time.
Example: We recommend brands like QUIKRETE for their easy use and professional finish.
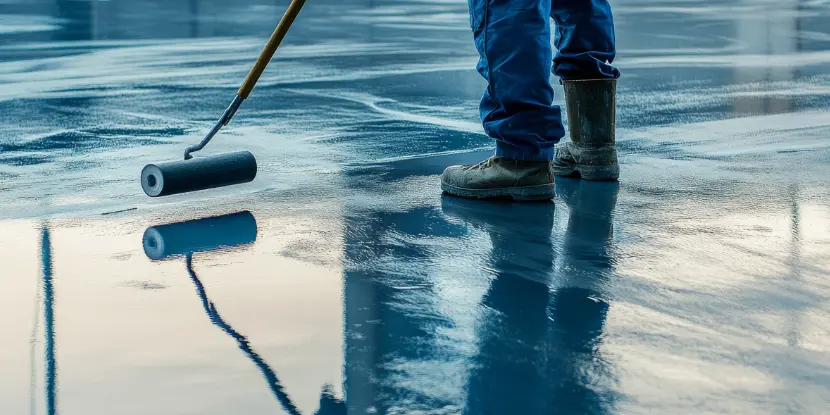
Epoxy paint comes in virtually any color, including blue.
3. Mix Epoxy Components Carefully
Epoxy consists of two components — resin and hardener. When mixed, the chemical reaction results in a tough, durable finish.
- Follow the instructions on your epoxy kit to mix these components.
- Ensure precise measurements and thorough mixing for a consistent application.
Tip: Use a drill with a mixing attachment for uniform blending.
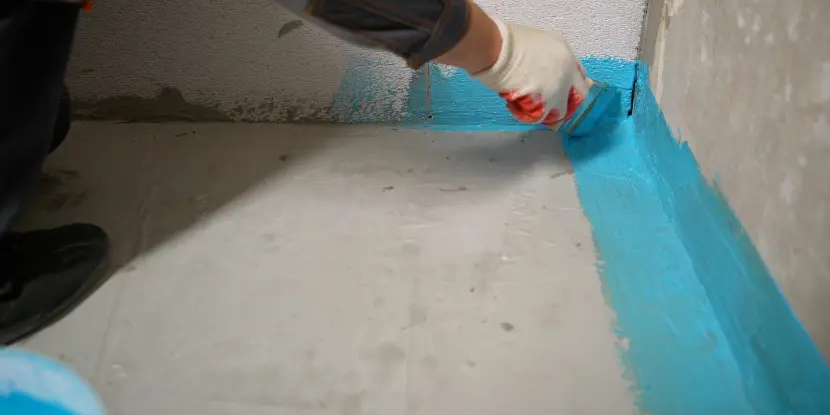
Use a brush to paint corners and crevices.
4. Apply the Epoxy Evenly
With the floor prepared and epoxy mixed, it’s time to apply.
- Outline the edges of the floor with a brush to ensure no areas are missed.
- Then, use a roller to cover the rest of the floor evenly.
- Work in small sections, and be mindful of the pot life — the period before the mixed epoxy starts to harden.
Statistic: According to a study by HomeAdvisor, homeowners who applied epoxy themselves saved up to 50% compared to hiring professionals.
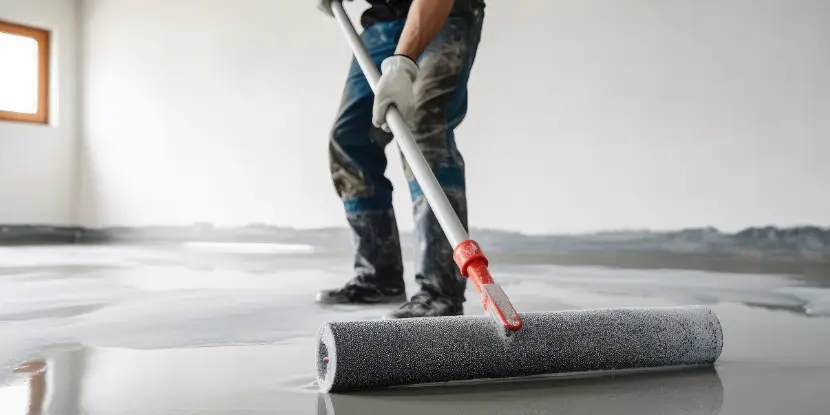
A DIYer applies epoxy paint with a roller.
5. Add Decorative Flakes for Texture
Decorative flakes will boost your floor’s appeal and provide a non-slip surface.
- Sprinkle the flakes over the wet epoxy evenly.
- This step is optional, but many DIY enthusiasts love the speckled effect it creates.
Tip: Practice sprinkling flakes on a small patch first to get a feel for the desired coverage.
6. Apply a Clear Topcoat for Added Protection
A topcoat can extend the life of your epoxy floor by several years, making it a worthwhile investment.
- Once the epoxy has cured, usually after 24 hours, you can add a clear topcoat for extra durability and shine.
- The topcoat also seals in the flakes and protects them from wear and tear.
Tip: Use a short-nap roller or brush to avoid creating bubbles in the topcoat.
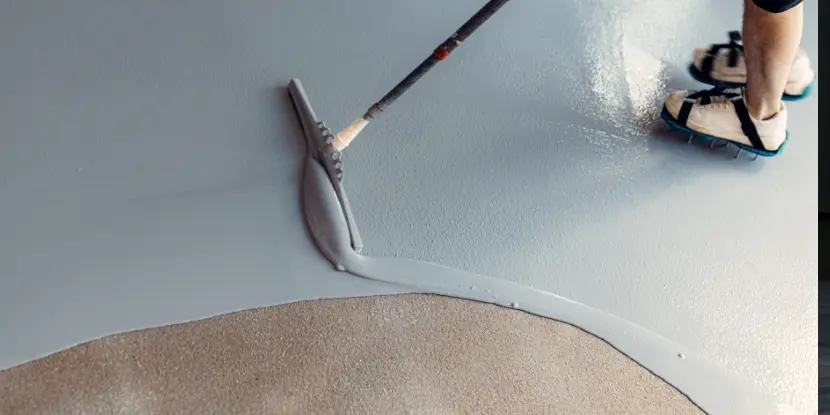
You can use a squeegee or paint roller to spread the epoxy.
7. Allow Proper Curing Time
- After the top coating, allow the floor to cure for at least 72 hours before walking on it and a whole week before parking your vehicle.
- Avoid moving heavy objects or placing furniture on the floor during this time.
Tip: For best results, wait up to a month before exposing the floor to hot tires from your car. This will ensure maximum adhesion and durability.
FAQs: Painting a Garage Floor with Epoxy
Q: How long will an epoxy floor last?
An epoxy floor can last up to 20 years with proper preparation and maintenance.
Q: Can I apply epoxy paint over a previously painted garage floor?
Yes, as long as the previous paint isn’t peeling or chipping. We recommend lightly sanding the surface before applying the new epoxy coat.
Q: Do I need professional help to paint my garage floor with epoxy?
While it’s possible to DIY an epoxy floor, hiring professionals can ensure a flawless finish and save you time and effort. Before deciding, consider your budget and skill level.
Q: What’s the best temperature to apply epoxy paint?
Epoxy paint should be applied at a temperature between 60-90°F (15-32°C). Extreme temperatures can affect the curing process and cause imperfections in the finish.
Q: How do I clean and maintain an epoxy floor?
Regularly sweep and mop with a mild detergent and warm water. Avoid using acidic or abrasive cleaners, which may damage the finish.
Q: Can epoxy floors be repaired if damaged?
Yes. Small chips or scratches can be fixed with an epoxy repair kit. For larger areas of damage, you might need to consult a professional for patching or recoating.
Q: Are epoxy floors environmentally friendly?
Epoxy floors can be environmentally friendly, especially water-based epoxies that emit low volatile organic compounds (VOCs). Check the product specifications for environmental impact.
Q: How can I prevent bubbles from forming during application?
Ensure the floor is free from moisture and contaminants before applying the epoxy. Mix the epoxy components slowly to minimize air entrapment, and use a roller or brush to apply even pressure during the coating process.

