A door is a door — or is it?
Steel doors need special handling when it comes to paint, that is, if you want the paint to last.
Whether painting a new steel door or giving an old one a fresh coat, there’s a strict process to achieve a smooth finish and professional-looking results.
Tools You’ll Need
Have the right tools at your disposal before you begin. These include:
- Sandpaper for smoothing out the door surface.
- Sanding block or electric sander for easier sanding.
- Scraper to remove peeling or loose paint.
- Tack cloth to remove dust and debris from the door surface after sanding.
- Painter’s tape to protect any areas you don’t want painted.
- Drop cloths or plastic sheeting to protect the surrounding area from paint drips.
- Quality paintbrushes for a smooth finish. A 2-inch angled brush is ideal for painting steel doors.
- High-quality paint roller with a foam or microfiber cover for larger surfaces of the door.
- Screwdriver for removing door hardware.
- Paint tray to apply paint to the roller.

A beautiful, freshly-painted steel door.
Choosing Your New Paint
Primer
- Oil-based primer is best for steel doors because it adheres well to metal surfaces.
- Look for a primer designed for use on metal.
Paint
- Acrylic latex paint is durable, weather-resistant, and much easier to clean up after than oil.
- Choose a high-quality exterior paint with rust-inhibiting properties.
Finish Options
- Satin has a soft sheen.
- Semi-gloss offers more durability and a reflective finish.
- Gloss provides the highest level of shine and durability.
Color Selection
- Lighter colors show less dirt and require less frequent touch-ups.
- Darker shades create an elegant contrast against light-colored exteriors.
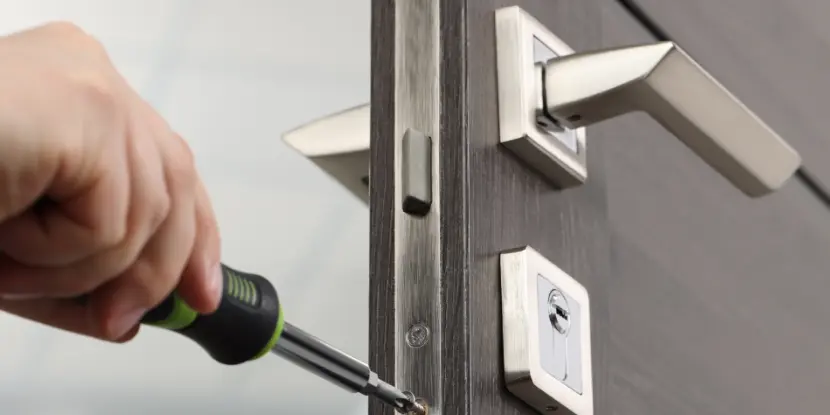
Detach all hardware before painting for a professional finish.
Preparing the Steel Door
Proper preparation will ensure that the paint adheres well and lasts for years.
- Take the door off its hinges. This will make it easier to paint and prevent accidental drips onto the surrounding area.
- Remove any hardware, such as the doorknob, deadbolt, and hinges, and store them safely for later reinstallation.
- Use a scraper to remove any loose or peeling paint. Sand the entire door surface with sandpaper, starting with coarse grit (80-100) and finishing with fine grit (120-150). This will create a smooth surface for the paint to adhere to.
- Wipe the door down with a tack cloth to remove all dust and debris. A clean surface allows the primer and paint to adhere correctly.
- Apply painter’s tape to any areas that you don’t want painted. This includes around the edges of glass panes, the doorknob, and the hinges. Press the tape down firmly to prevent paint from seeping underneath.
- Place drop cloths or plastic sheeting on the ground and surrounding areas to protect against paint splatters or drips. This will help keep the workspace clean and prevent damage to floors or nearby items.
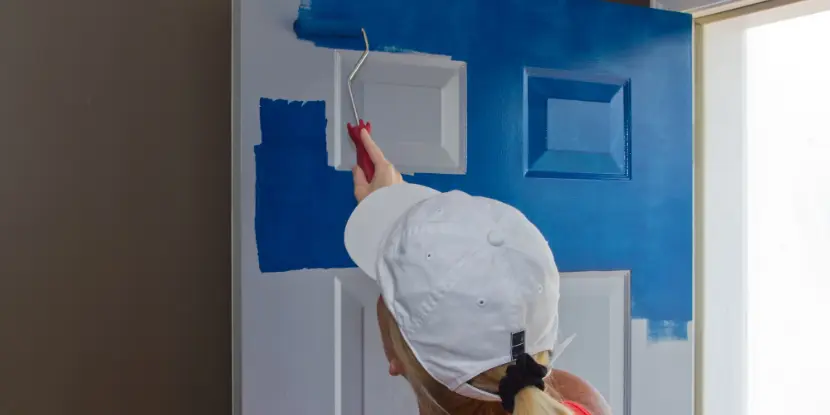
Rollers are best for broad, flat surfaces.
Painting the Door Step-by-Step
- Set Up Your Workspace: Your workspace should be clean and well-ventilated. Lay down drop cloths to protect the floor.
- Gather Your Tools and Materials: Have all your tools and materials within reach, including sandpaper, primer, paint, rollers, brushes, painter’s tape, and a screwdriver.
- Tape Off Areas: Use painter’s tape to cover areas you don’t want the paint to reach, such as the door frame or glass panels.
- Prime the Door: Using a brush or roller, apply a thin coat of primer to the entire door. Let the primer dry completely as per the manufacturer’s instructions.
- Apply the First Coat of Paint: Use your angled brush to start with the edges. Then, use a small foam roller to apply the first coat of paint on the main surfaces. Apply smooth, even strokes for a uniform coat.
- Let it Dry: Allow the first coat of paint to dry thoroughly.
- Sand Between Coats: Once dry, lightly sand the painted surface with fine-grit sandpaper. This step removes any brush marks or lint.
- Apply Additional Coats: Add a second coat of paint, following the same process as the first. Apply more coats if necessary, allowing for drying in between coats.
- Final Touches: Once you’re satisfied with the coverage and finish, carefully remove all painter’s tape and reattach any hardware.
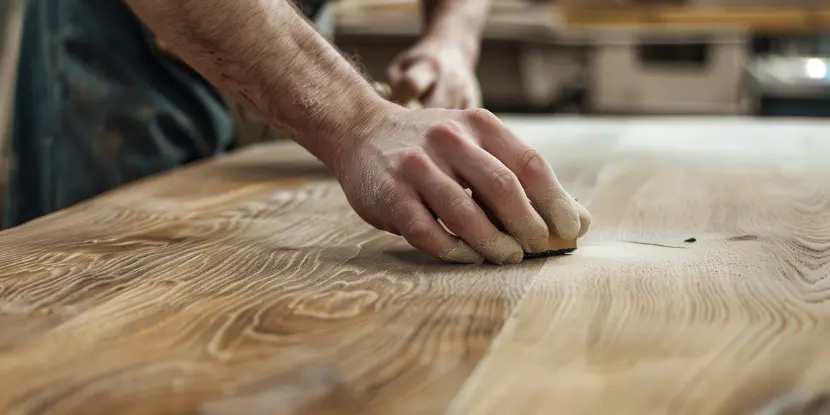
A sanding block makes the job easier. Sure, it’s a wooden door, but you get the point.
Cleaning Your Tools
Now comes the real fun — cleaning up when the task is done!
Brushes & Rollers
- Rinse brushes and rollers under warm, soapy water immediately after use to remove paint.
- Work the soap into the brush bristles or the roller covers.
- Rinse again until the water runs clear and all paint residue is gone.
- Once cleaned, you can condition brush bristles with fabric softener or brush conditioner to prevent them from drying out or becoming brittle.
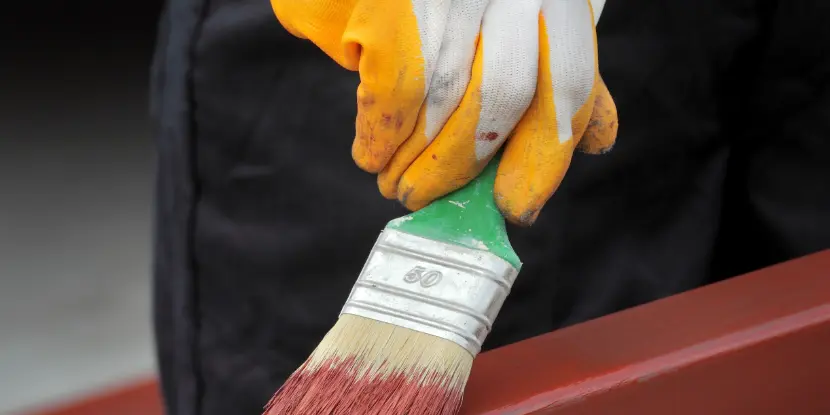
Use your brush to paint the cracks, depressions, and crevices.
Trays & Scrapers
- For paint trays, pour any excess paint back into the can. Scrape out any remaining paint with a putty knife or similar tool.
- Wash paint trays and scrapers with warm, soapy water. A stiff brush can help remove any dried paint.
- Rinse well and dry with a clean cloth.
- Once cleaned, you can condition brush bristles with fabric softener or brush conditioner to prevent them from drying out or becoming brittle.
Tool Storage
- Store brushes flat to preserve their shape, or hang them with the bristles facing down.
- Store rollers in a plastic bag to prevent them from drying out if you plan to reuse them soon.
Pro Tips
- Always paint in moderate temperatures. Extreme heat or cold can affect drying times and the final appearance of the paint.
- Using a wet edge technique can prevent lines or marks in the paint. This involves keeping the edge of the paint wet while you work, ensuring a seamless blend between sections.
- Finally, invest in high-quality paint and primer. They cost more upfront, but they provide better coverage and longevity.
FAQs: Painting a Steel Door
Q: How long does it take to paint a steel door?
Painting a steel door can take a full day, including drying times between coats.
Q: Can I paint my door without removing it?
Yes, but removing it allows for a more thorough job. It reduces the risk of drips and ensures every edge is uniform.
Q: How often should I repaint my steel door?
A paint job can last 5–7 years. However, environmental factors and wear and tear can influence this timeframe.
Q: What type of paint should I use for a steel door?
Purchase a high-quality exterior acrylic latex paint designed for metal surfaces. This durable paint can withstand various weather conditions.
Q: Do I need to sand my door before painting if it’s not peeling?
Yes. Lightly sanding creates a rough texture for the new paint to grip, ensuring a longer-lasting finish.
Q: Can I use spray paint on my steel door?
Yes, but only if you use a product designed for metal surfaces. Ensure the door is adequately prepared and primed.