
First, it was a screwdriver.
Then, a hammer, crosscut saw, and drill.
Now, in your third year of DIY, tools are taking over the garage. Hand tools have given way to power tools with all their attachments and accessories.
When all that equipment disappears in a pile, and you waste a weekend rummaging for a pair of pliers, it’s time to organize.
A simple pegboard will do the job. Pegboards are cheap, and installing one is an easy project even for a novice DIYer.

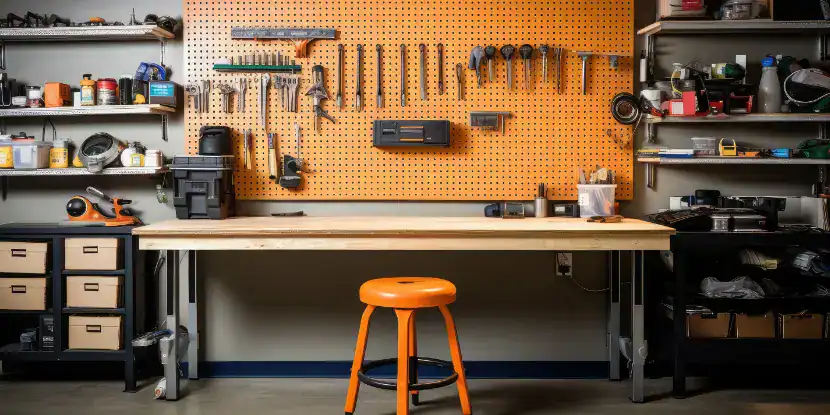
This garage could use serious help. Pegboards, coming up!
Reasons to Love Pegboard Storage
1. It Extends the Life of Your Tools
Rust, moisture, and mishandling can quickly ruin tools. But when tools are stored on a pegboard, they’re away from potential damage.
2. It Saves Space & Reduces Clutter
A pegboard leverages vertical space, leaving valuable workbenches and drawer space free for other needs. Tools hang neatly, eliminating piles of clutter.
3. It Enhances Efficiency
With tools visible and easily reachable, you’ll spend less time hunting for that missing wrench or screwdriver and more time focused on your DIY projects.
4. It’s Easy to Implement
Installing a pegboard system requires only basic tools and hardware. For convenience, you can also purchase pre-made pegboard panels.
5. It’s Customizable
Pegboards are available in various sizes and can be custom-cut. They offer endless possibilities for arranging and organizing your tools. Plus, you can add accessories like shelves, bins, and hooks to create a personalized system.
The shelves are a mess, but the pegboard is pristine.
How to Create a DIY Pegboard Storage System
Materials
- Pegboard panel (wood, metal, or plastic; 2′ x 4′ is a common size)
- Wooden furring strips or a mounting system
- Screws (and anchors, if installing into drywall)
- Drill and screwdriver
- Measuring tape
- Pencil or marker
- Level
- Pegboard hooks or accessory kits for tool hanging
Step 1. Choose Your Location
Decide where you want to install the pegboard. Look for a flat wall surface that’s easily accessible and ample space for your tools. Make sure shelves, garage doors, or vehicles don’t obstruct it.
Pro Tip: Position your pegboard near your workbench to easily access often-used tools.
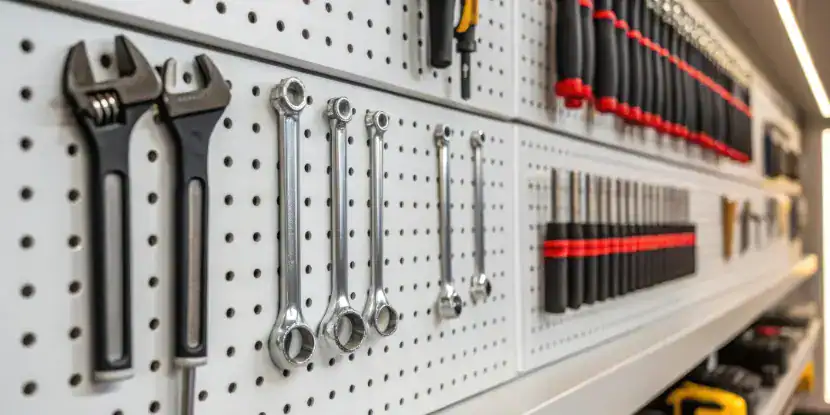
Tools neatly organized on a pegboard.
Step 2. Measure & Mark the Space
Measure up and across to ensure your pegboard will fit. Use a pencil to mark where the edges of the board will sit.
Step 3. Prep the Wall
If you mount the pegboard onto drywall or concrete, prep the surface for stability.
Drywall
Use a stud finder to locate studs behind the drywall.
Prepare to install anchors if you’re working with non-studded walls.
Concrete
- Use a hammer drill to create pilot holes for the anchors.
- Insert plastic wall anchors and tap them in with a hammer.
Step 4. Mount Furring Strips
Furring strips (thin pieces of wood) create a gap between the wall and the pegboard, allowing room for the hooks to insert and hold tools.
- Attach the furring strips vertically behind the edges of where your pegboard will be.
- Secure each strip to the wall with screws or anchors. Use a level to ensure they’re straight.
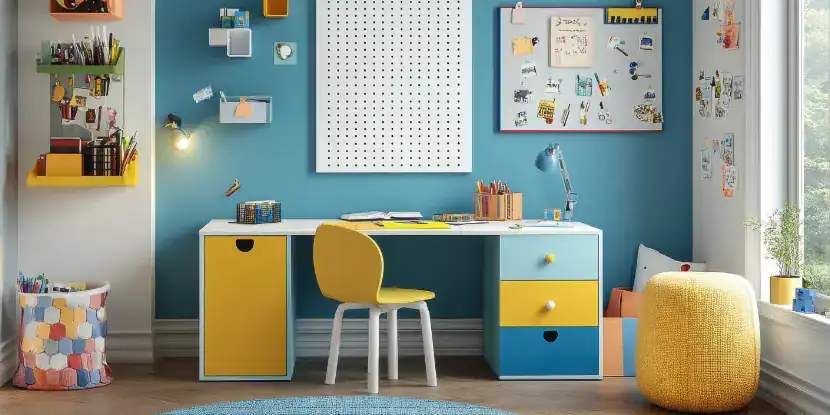
See how easy it is to keep a child’s room clean? All you need is a pegboard!
Step 5. Install the Pegboard
- Align your pegboard panel over the mounted furring strips.
- Drill screws into the corners of the board, securing it to the strips.
- Add screws along the edges and center to ensure it’s firmly in place.
Step 6. Add Your Hooks & Organize
- Install pegboard hooks and accessories to suit your tool collection.
- Group similar items together (e.g., wrenches on one row, screwdrivers on another) for easy access.
- Experiment with different arrangements until you find what’s best for your workflow.
Pro Tip: Use pegboard storage bins on hooks to hold smaller items like screws, washers, or nails.
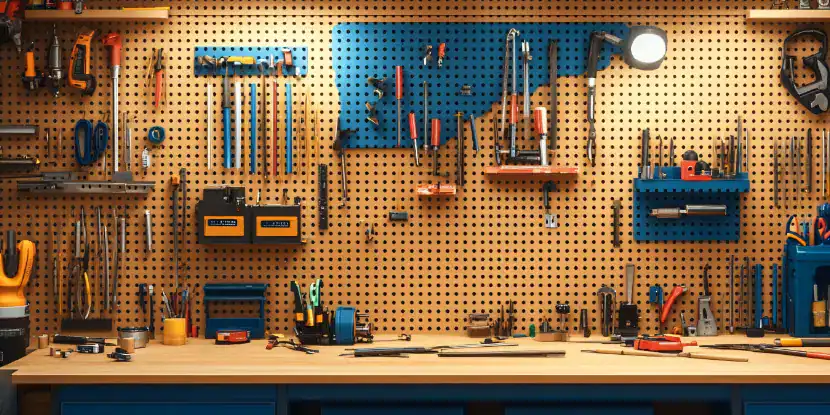
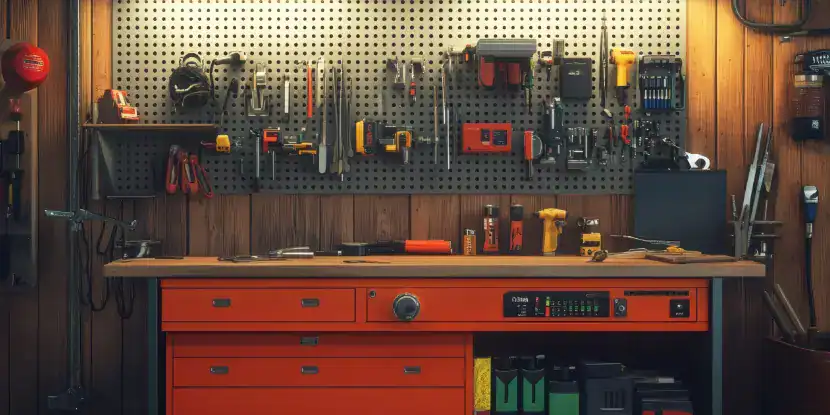
A beautifully organized workbench.
Pegboard Storage Ideas
It’s time to go beyond the basics! Here’s how to elevate your pegboard system.
1. Spray Paint for Customization
Paint your pegboard for visual appeal. You can also use chalkboard paint to label tools with markers.
2. Outline Tools with a Sharpie
Trace the outline of each tool on the pegboard so you’ll know exactly where to return it. This is particularly useful if you share your tools with family members or housemates.
3. Add Magnetic Strips for Metal Tools
Attach magnetic strips to the pegboard to hold metal tools like drills and screwdrivers without hooks.
4. Add Hooks for Power Tools
Use heavy-duty hooks to hang power tools like drills, nail guns, and impact drivers, keeping them out of harm’s way.
A metal pegboard can support heavy power tools (but maybe not the backhoe).
FAQs: Pegboard Tool Storage
Q: Can I hang heavy tools on a pegboard?
Yes, as long as the pegboard is mounted onto furring strips or studded walls. For larger items, use heavy-duty hooks.
Q: What’s the best type of pegboard material?
Metal pegboards are the most durable, especially for heavy tools. Wood and plastic are lighter alternatives, suitable for smaller tools.
Q: How do I clean a pegboard?
Wipe it down with a damp cloth. For stubborn stains, use a mild soap.
Q: Are pegboards only for garages?
Nyet! You can install them in crafting rooms, kitchens, kids’ rooms, or home offices.
Q: Can I expand my pegboard setup later?
Yes. Pegboards are modular. Install additional panels next to your existing setup if you need more storage space.
Q: Do furring strips work on concrete walls?
Yes, but you’ll need masonry anchors and screws to attach the furring strips securely.
Q: Can pegboards hold power tools?
Yes. Use reinforced hooks and mount the pegboard on sturdy furring strips or studs.
Q:. What’s the average price of a pegboard system?
A basic setup costs around $20–$50 for a 2′ x 4′ panel and hooks, but this can increase depending on the accessories.